Saturday, December 27, 2014

Thank You Hearts

The title of this post is very similar to Thank You Squares, but that does not mean they are similar in style.
I didn't measure the width of the border, but it looks a little smaller than 1/8 of an inch. 
Evenly divide into ninths.
1 3/4 of an inch.
Short sides - 1 5/16 of an inch.  You need not use the exact same measurements as I did.
White fabric.
...Cut into rectangles slightly smaller than the rectangles drawn on the card already.  the fabric pieces should have about a 1/8 inch border around them.
This stamp and the one below are what we are using.
Here are eight different inks.  Back row (the tubes) - black, light red, gold, orange, turquoise, red; front row (ink pads) - brown and purple.  If you click on the picture, you are probably able to read what each of the tubes say their color is.
A bunch of damp paper towels will be needed to clean fingers and stamps.
Usually, if you're using the tubes, you would dab ink on a piece of scrap paper, roll all over it with your roller until the roller is completely covered in ink, roll over the stamp, and then stamp on whatever you were intending to stamp on (at least that's how I would do it), but since we are doing each individual heart with a different ink, it's a lot more convenient and a lot less time consuming and ink wasting to simply put a bit of ink on your finger and rub all over the stamp.  Then you can just wipe off your finger on a wet paper towel.
All eight pieces - stamped and ready to go!
For the thank you stamp, you'll have to put ink on only "thank," stamp it on, and then do the same for "you."
Arrange them as desired.
You may not be able to tell very well, but the purple (top middle) and especially brown (bottom left) hearts are more faded than the others.  If you remember, they were the ones that I used ink pads for instead of tubes.

Friday, December 26, 2014

Noel ~ Born is the King of Israel!

I'm going to say it right out.  I don't like this card.  Call me a scrooge, but I really don't like the traditional Christmas-y red and green, especially this shade of green with this red.  Yet, I continue to make cards with the red and green theme.  I guess it's because it's easier when you already have a color scheme to go with, without having to think of it yourself.
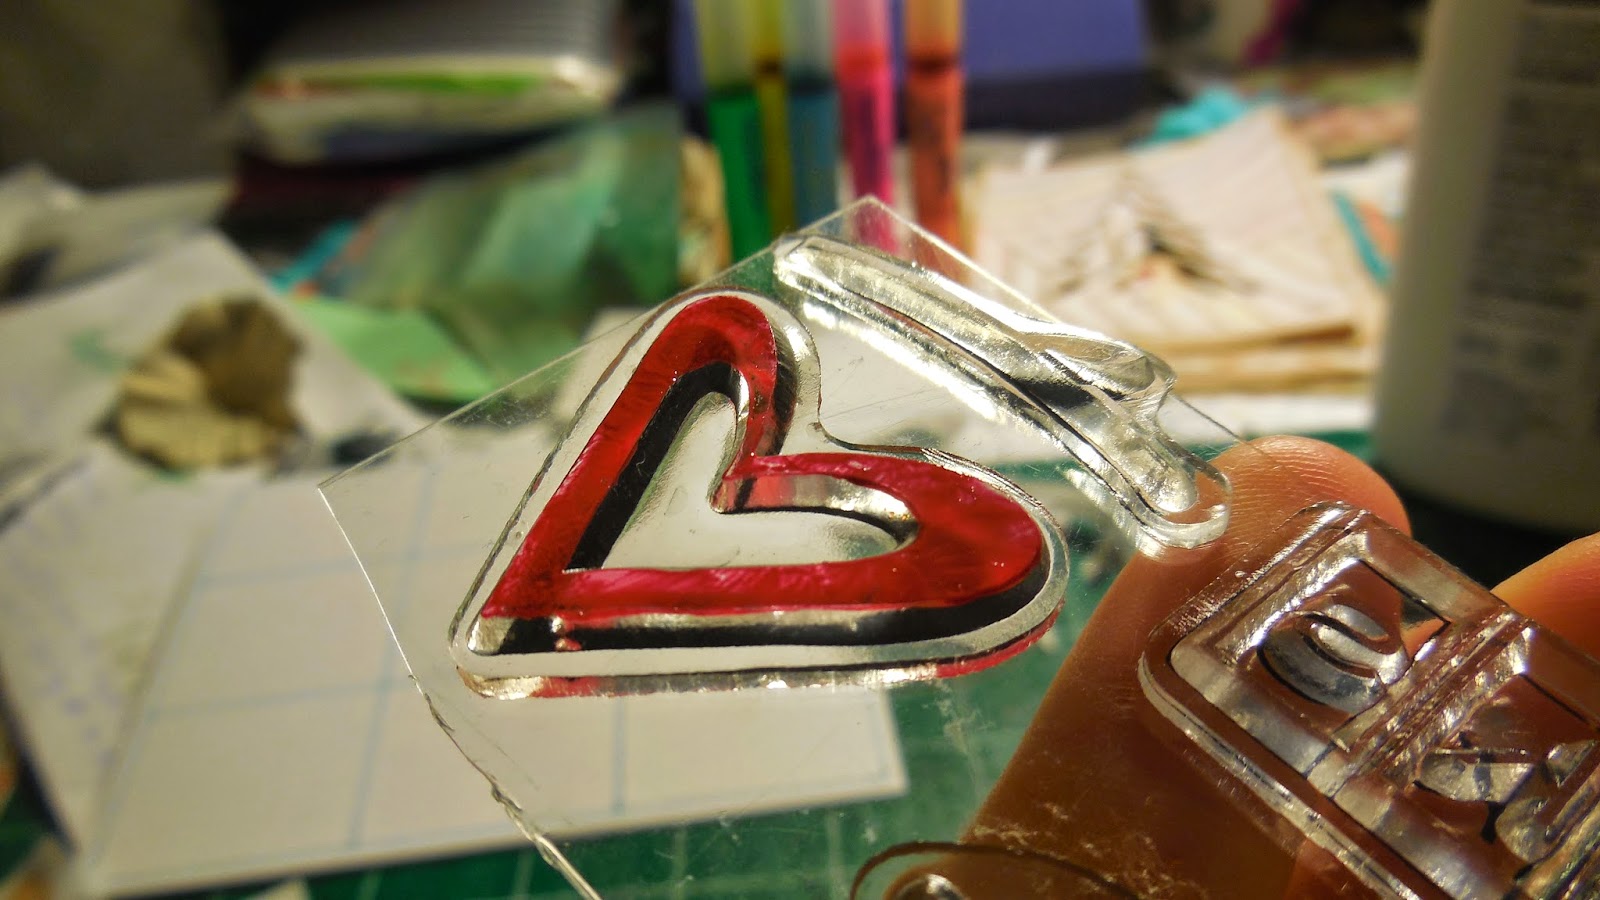
This is a stamp I made specifically for this project.  I was like, "Hey!  I need a stamp!  Right now!"  So I made one.
I really like how it turned out.  That white fabric, by the way, is left over from Sorry I'm Late.
I made this patterned paper by putting fabric in the copying machine - and copying it.  this particular piece of paper is 2 3/4 by 2 3/4 inches, with corners rounded as you can see.
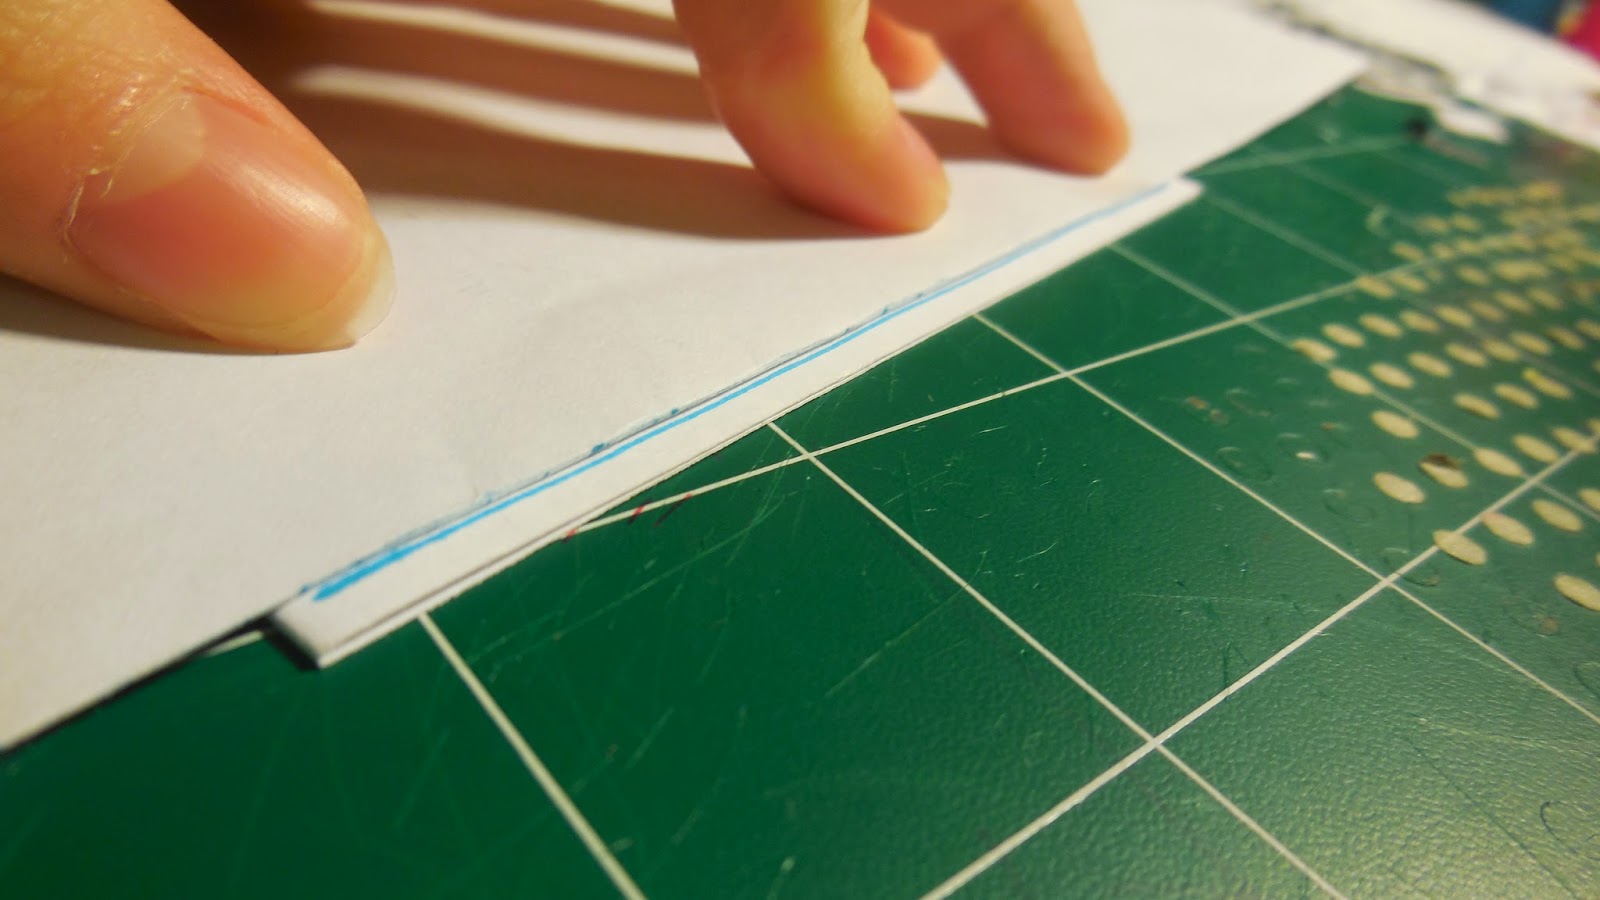
Back stitch a border with dark green thread.
This is a 5 1/4 by 4 inch piece of vellum paper.  I outlined it with green, then with my bone folder, wrote at the bottom, "born is the King of Israel."  It shows up better than it would on ordinary paper.  My cursive is so much better when I'm writing with a bone folder!
I was planning to simply put the noel thing on and be done, but I thought it needed more, so I used an embossing folder.  This is actually, I believe, the first time I've ever used this embossing folder for a card, even though I've had it for a couple of years.
I again decided the card needed more, so I went over the words at the bottom with red sharpie.
Because vellum is translucent, you have to put the glue under places where it can be covered up.  If you don't, you will be able to see where the glue through the other side.At least that's what I've heard, and I thought I had experienced it before, but when I put glue on a scrap piece of vellum, it didn't seem to show on the top side.

Tuesday, December 23, 2014

Fringe Tree

     My first Christmas-y post, and it's two days before Christmas!  Well sorry, but I guess you'll just have to wait until next year if you want to use this one.
Long strips of green paper, roughly 3/4 of an inch wide.
I don't have exact measurements for how long each piece should be, so basically decide how long you want the bottom one, then make each a little shorter than the last until you get one short enough to be the topper.
You may be wondering what that wacky looking thing is.  Those are my fringe scissors, thus the title, "Fringe Tree."  Use them as far down the piece as possible without cutting off any part.  The most cuts you'll be able to get in one one piece is two, but trust me, it still save time.  For the parts you can't get with the fancy scissors, you'll have to use regular scissors.
Please, don't cut up your hymnal!  I used the same technique here as I used in Polk-dot Happy Birthday with the flower.   This piece of paper is cut to 5 by 3 3/4 inches.  I then rounded only the top left and bottom right corners, then outlined it with red.
With eyelet setting tool, punch two holes at an angle in the top left corner of paper.
Wire rimmed red shimmery ribbon.
Tie the ribbon in a nice knot, and trim the edges.  You need not double tie it because the wire will keep it tight, plus there will be glue underneath.
It looks like this picture was randomly stuck here, but this is actually the order in which I did it.  The picture is to show how much glue to put on, and where.  It's a good idea to run it down the edges also.  Start at the bottom, with the biggest piece, obviously, sticking each one about 1/2 inch above the other.
Rhinestones colored with red sharpie.  Of course you can always just get already red rhinestones.  Place them as shown in the picture below.
I think I did the tree a bit too low down.
These are super easy.  I made three more after this one.

Saturday, December 20, 2014

Polka-dot Happy Birthday

This one uses left overs.  :)
You may remember this from Sorry I'm Late.
A 3 1/8 by 5 1/2 inch piece of beautiful green with brown polka-dotted paper.
For this I drew small circles with my thin brown sharpie, then filled them in with my thick brown sharpie that barely works.  I have two thick brown sharpies, one that works, and then this one.
1 by 2 1/2 inches.
Cut out a square corner, then draw straight lines as shown.
This is what it should look like when you're finished.  My cursive isn't that great, as you can see, but it works.  Again, I used my brown sharpie that doesn't really work.
This is the best way I thought of to adhere the fabric to the paper.  A sticker maker might work, but I don't have a cartridge right now, so I couldn't do that.  The surface will be a little rough when the glue dries, but that's okay, right?
I had this cute metal button that's the exact same color as the polka dots.  I discovered during this project that I love metal buttons!