 I'm happy to say that I successfully kept up with the challenge the whole month long, although I almost didn't for the last week. And here's why.
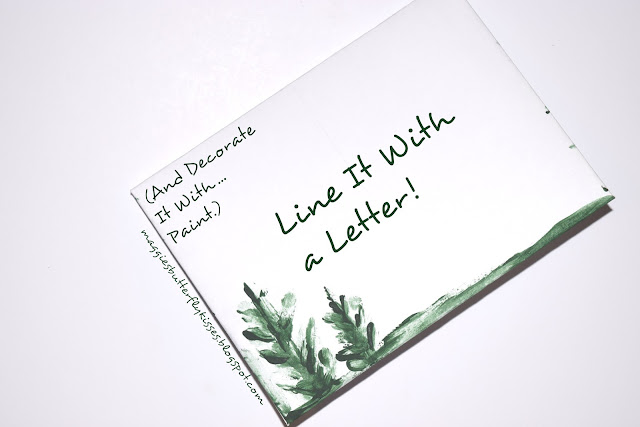
I was at first using Jennie's printable stationary and not-made-by-me cards that I already had, but for the last week I wanted to do something different. I think it was on Pinterest that I saw the idea to write a letter right inside the envelope (not that I hadn't thought of it before), so that, combined with Jennie's post on decorating envelopes, gave me the idea for what this post is about! I had planned to go easy on myself for the whole challenge, but whatevs. I suppose I can't be trusted.
Supplies
White cardstock
Pencil + eraser
Ruler
Scissors
Acrylic paint (I neglected to include that in the picture. Whoops.)
Washi tape (optional)
Hopefully you can see the pencil lines in this picture to get an idea of what I did, but basically I positioned an envelope I already had (you could use any rectangular shape - it doesn't have to be an envelope) in the middle of the paper, and traced around it, and then used my ruler to figure out where the center line of the envelope was, and continued that line all the way from one end of the paper to the other. That way, I knew where to position my ruler so that the would-be envelope flap wasn't all wrong and mismeasured. From there, I drew a straight line from the corners of the rectangle to the point at the end of the paper where my middle line ended. I did that on all four corners. Then I drew a another line about 1/4 inch outside of those four lines, and cut on those lines, so that when I folded the flaps, they would overlap. I also cut in those grooves where the corners of the rectangle were, as shown below. I thought it would work much better to fold the flaps after painting, so that's what I did!

Phew! Now that that is over, we can get on to the fun stuff! Painting the envelopes! I was of course making five envelopes for the five people I was writing for the challenge. For the first, I just did a simple polka-dot pattern with dark purple acrylic paint (I used one acrylic paint for each), using my index finger as my painting device (which I did for every one). Woot for finger painting!
So...I did not go to the trouble of tracing, measuring, cutting, an envelope. I just wrote my letter and went to bed.
I did, in actuality, write my letter and go to bed, but I had to write it all crazy-fun-like, so it wasn't boring.
I didn't leave it at that. Oh no. I got fancy with the outside in the morning (this is how I remember it, anyhow. It was so long ago...).
What I did was, first, I decorated one side of a piece of cardstock with light purple acrylic paint.
Now, we're done with decorating the envelope, but we can't forget the most important part - writing the letter! It's so fun to write right inside the envelope, don't you think? And you don't have to write anything long either! I, for some reason, don't know how to write a short letter, so I used up every inch of space I could, but
Yes, I went fancy with the envelopes, and yes, I wrote long letters in each, but no, I didn't think that was enough, apparently. So I made a little watercolor bookmark to put in each letter, sort of as a thank you gift for...being my recipient? :)
Don't you just love it when you have supplies that all coordinate so perfectly? It makes my heart soar.

P.S.! Man, have I missed blogging! Things have been a little crazy lately, with my not being good at using my time well, and traveling, and such. Maybe I will get back on track during the summer, but we will see. Tomorrow I'm off to Tennessee, and BWSC starts on Monday! Stay weird!
{P. P. S. Linking up here!}


