Hey, y'all! I'm sorry it's taken me longer than usual (whatever that is, I haven't had this thing for too long!) to post again. I would put these two cards in two separate posts, but the instructions for both are so related, it wouldn't work very well. So here they are! The only sharpies used for these are navy blue and light brown.
Your Heart is a Scribbled Mess
(I was trying in vain to come up with a name for this card, and my sister suggested this, so I was like, "Why not?!")
 |
| Scribble around the edges with your navy blue sharpie, and make it especially scribbly in the corners. One of the cards should be vertical, the other horizontal, and both with the fold on the top. |
 |
| These are lots of scraps of brown paper I had left over from a separate project. They are roughly 4 by 1 1/2 inches, but it really doesn't matter what size they are, as long as they're big enough to cut out the hearts. |
 |
| This is the fun part! Use cool handwriting, draw wacky patterns, you could even stamp, to decorate the strips of paper, for whatever occasion. I did the two shown here, and chevron (internal singing) and little hearts. |
 |
| Fold them as shown, so the ends meet in the middle. It actually doesn't matter, I only did that because I was planning to use the un-cut-out-part on a different card, so of course I want it to be even and stuff. |
 |
| I know, I know, it's so cliche to use hearts, but they're so easy and practical. Glue them to the horizontal card like this, kind of on the bottom half. |
 |
| ...Then roughly trace around, and do cool chevron-y stuff as shown. |
 |
| I should have thought this out more before I wrote at the top. I really don't like how that looks. I did all printed capital letters first, and I didn't like that, so I sort of went over it with cursive capital letters. I've seen stuff like that before, but this looks totally different! I think it's usually done with lower-case letters though. |
Rainy Day Happy Birthday
 |
| I used my fancy-shmancy washi tape to trace around. |
 |
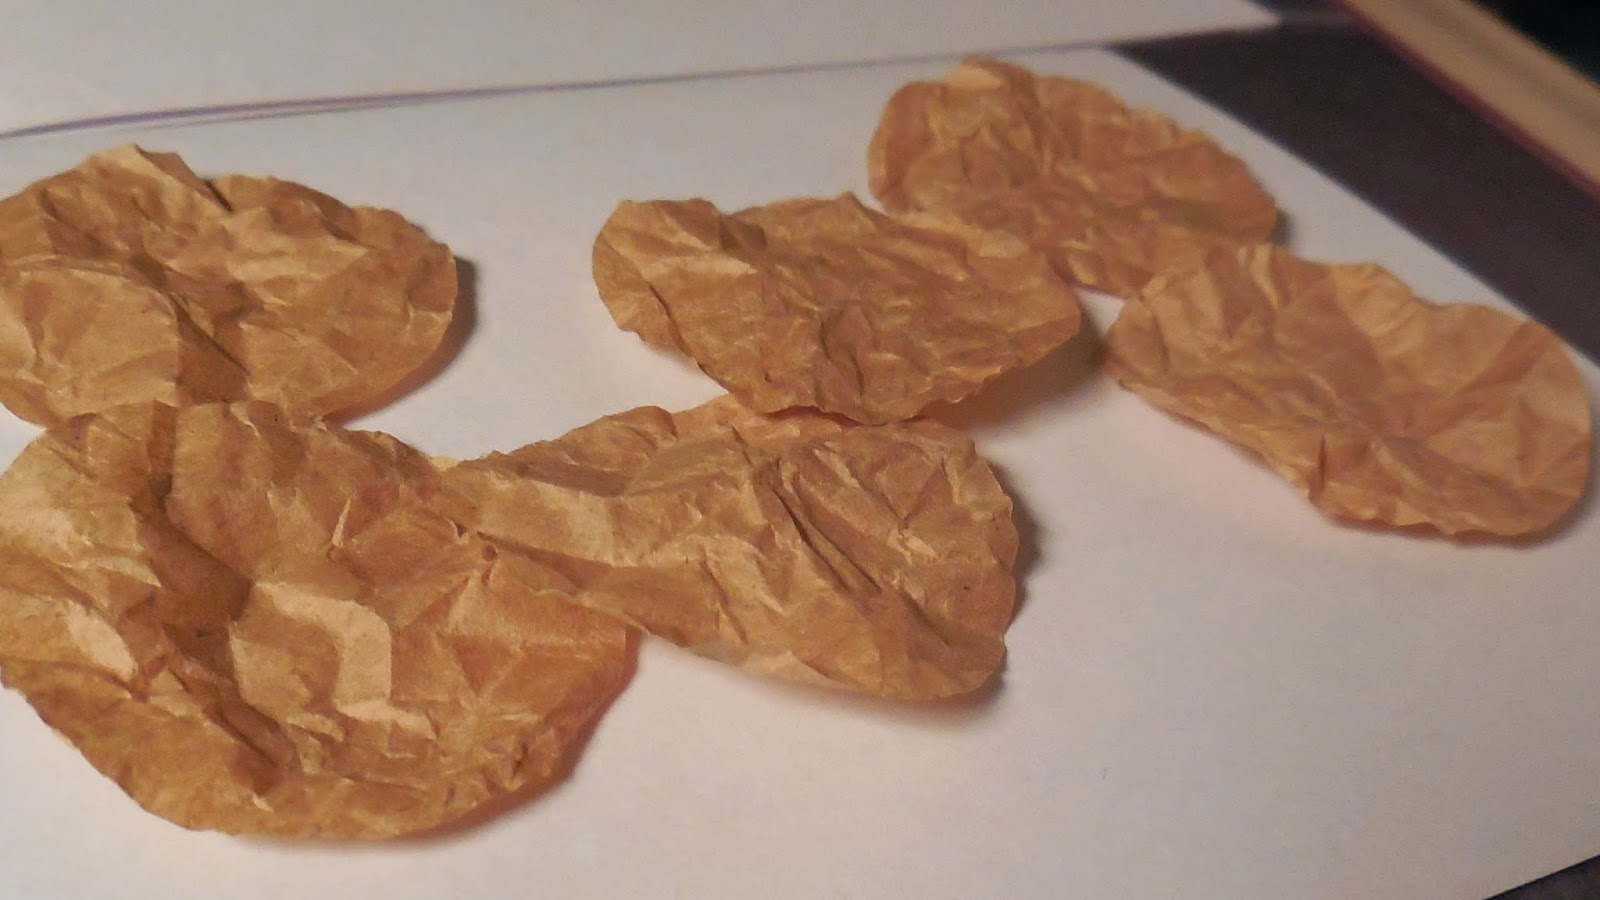
| Cut the circles out, and crumple them up! |
 |
| ...And stick a button in the middle! Oh, these flowers make me so happy! The colors, the crumpliness, the button. I love it all! |
 |
| But before you glue them on, draw various lengths of stems, with leaves and scruffy grass, coming up from the bottom. Haha, obviously the bottom. |
 |
| ...And write your desired sentiment at the top. |
 |
| The idea for rain clouds came after everything else because I thought it looked too empty. It probably wasn't too empty, but I really like the way this looks. |
 |
| Then you can glue the flowers on! |


I love these ideas I might try them myself;)
ReplyDeleteYay, thank you, Zoe!
Delete