Showing posts with label Typography. Show all posts

Saturday, February 18, 2017

Touch the Stars // Card Tutorial

First things first, people.  What in the world.  Honeybabes, it's been over a month since I done blessed you with my presence.  I don't even have a fabulous excuse either.

And speaking of taking forevah to get things done, the card featured in this post, and the others like it, are cards I made back in, um, October.

Anna was disappointed with the utter cheesiness of the card, but you know what?  I'm a cheesy individual, and I'm gonna make cheesy cards sometimes.

Supplies
Blank card
Something x 5 1/2 inch cardstock panel
Black extra fine sharpie
Star stamp
Stamp ink (or acrylic paint)
Paint brush
On the panel, draw a girl reaching up to the sky.  I started with the hand, because I wanted to make sure it was in the right place so I could place the star in the right place later on.
Then I continued to draw the rest of the girl.  I finished her arm, drew a simple sleeve, and then drew the back of her head, and onward.
OH YEAH, and I made sure to draw her far enough to the side that I could add words on the other side.  Which, by the way, is supah to the dupah fun.  I'm into it.
I'm getting better at this typography and fake calligraphy stuff, so what I can do now is better than this stuff from October, but I actually really like the imperfectness of this.
OOH!  LOOK AT IT!  It's my stamp!  I made it!  Out of a cork!
I used both ends of the cork too!  This end didn't work too well, unfortunately, but that's ookey.
Now blob some o' dat ink on dat stamp.
I used my finger to rub it to the edges of the stamp.  It was still really thick on ther' though.
 So I stamped it upon that card, right above the hand.
And then I had plenty left to stamp a second time on another piece of paper, for another card.
You can see that there was a lot of ink on the stamp by the darker edges around the stamped image.
I don't exactly remember doing this, but it looks like I removed some of that thick ink from around the edge, with the stamp itself.  (I do remember that.)

And then I drew some fun clouds up above, and the shoot-y things out from the star, and added a dotty border.  This works a whole lot bettah if the ink is dry, by the way.
Now the panel is finished, and we can deal with the card.  Using a flat, watercolor brush, I dipped it right into the opening of the tube and painted horizontal strokes along the left and right edges of the card, making sure to go towards the center at least half an inch so that the panel would cover ever'thin'.
As I said in the supplies list, you could also use acrylic paint for this, and it might even work better, as it would dry quicklier {definitely a word}.  I just didn't.  But acrylic paint is the bomb.
When that and the panel are dry (and please do make sure they're dry), you can glue on the panel.
HEY LOOK it's done.
This is the original card I made, before I made another to do a tutorial on.
I made a total of...six?  I thought I made eight.  But the picture only has six.  Anywho, I made a bunch, and on one, I drew a boy instead of a girl, which, looking back, was kinda dumb.  These cards are supah girly and should not be sent to any boy.  Oh weell.  Heh, and that boy one is the only one I  haven't used yet......

On some of these, I wrote "reach for the stars" instead of "touch the stars."  Gots to have variety.
Do you think this is just way too cheesy for life?  I agree it is cheesy.  Have you ever made a cork stamp?

Tuesday, October 18, 2016

Card Tutorial // You (Yes, You!) Take Me Someplace Special.

The centerpiece of this card had been sitting on my desk for, literally, months, before I finally got around to making the card!  (In fact, I think I created this centerpiece around the same time I made this card, and I used the same sharpie for both!)  (I go through extra-fine back sharpies rather quickly.)  I was playing around with fonts and cheesy but sweet sentiments, and this is what I came up with.  I wanted to make a card that would be just as lovely, because this was somethin' special here!

As it turns out, the card I made with it was not my best, and if I could go back and remake the card, I would do it a bit differently, but you know what?  IT'S OKAY!  I still love the sentiment.
Supplies
Doily
Scissors
Sharpies (multiple shades and thicknesses of one color, + an extra-fine black sharpie)
Baker's Twine
Glue
Card

So first, we're going to start with a doily, like we've used many times before.  Now look at the doily.  It has ten sides, see?  So we're going to cut it into ten little triangles.  You'll cut from the "1" to the "6," the "2" to the "7," and so on.
After you cut the doily in half the first time, you'll need to hold the two halves together as you cut it in half another way.
Then you can use the pointy middle to make sure you're cutting it straight through...the middle!  (Do I make sense?  Me thinks not.  So this is where you refer to the picture.)
There, ten little triangles!
Get out your trusty sharpies, and draw some horizontal lines on those triangles!  I used five sharpies, and did two triangles per sharpie, drawing the horizontal lines opposite ways for the two (except I accidentally did the lines the same way for those two on the right).  Can you tell which sharpies I used for which triangles?
It makes a pretty good stack of colored triangles.  We'll only use four of them today, so you can stash the others away somewhere.  (My extras are still...ahem...on my desk.)
Yay, baker's twine!  This stuff is so pretty, don't you think?
I got this idea from this pin I saw on Pinterest, but wanted a little something more, and that's why I added the stripes.  Eep, this is so pretty!  Set this aside for latah.
I already had my centerpiece made when I got around to making this card, so I didn't take pictures of it as I drew/wrote it, but you probably don't have one yet!  If you're nervous about trying fancy typography, you don't have to try it!  You could totally just use your regular old handwriting, or, if you want, you may be able to find a stamp with a similar sentiment that you could use.  But it is really fun to experiment with hand-lettering.  If you would like to try hand-lettering, you should check out Jennie's post on the subject!

After you get it written, you can cut it out in an oval shape.  I used a stencil.
 Now all the elements are made, and all we have to do is figure out how the card will be layed out.  This was my first idea.  I actually really like this, but I nixed it because I wanted to include a bow, and there didn't seems to be a place for a bow with this layout.  Also I would have had to cut off parts of the triangles, which I didn't want to do.
 So I played around a bit more, and came up with this.  As you can see, there are now only four triangles visible.
Now that it's decided, we can begin to glue everything down permanently.  But first, I wanted to knot the ends of the string, to kind of give the impression that it's hanging up.
After the ends are tied, put a little glue under each knot, and let dry.  Don't try to do anything else until they're dry, because the string will move from the glue very easily before it's dry.  And if that happens, you just might go crazayyy!
Alright, cool.  The glue under the knotted string is dry now.  (That was quick!)  So now you can glue down the triangles.  Which, surprisingly, can be a little tricky.  Because you want them to be at exactly the right place so that the centerpiece will be right in the middle of them.  I kind of had to maneuver them into place until they were right.
Then when they're all behaved and glued down and dried, you can glue down the centerpiece.  As the catchy commercial goes, "Push it REAL good!"  Meaning, push that centerpiece down.  Keep it calm. Give it a nice long back rub.
There we go!  All the main elements are glued on!  (What do you think of it at this point?)
I was not satisfied at that point, so I added some outlining lines.  I'm not sure I really like the look of it, but you know what?  IT'S OKAY!
I knew it needed a bow the whole time (remember what I said up ther'?), and finally!  The chance came!  I made a pretty little bow from the baker's twine used for the doily triangles.  (Hey, did you knooow, there's actually a fancy name for that, other than doily triangles?  It's called bunting.  Yes, I do know words sometimes.)  Maybe someday I will show you people how to make one of these perfect bows, but alas!  Today is not the day.
Then I still thought it needed somethin' more, specifically, black adhesive pearls, which I do not own.  So, I just drew some, which do not look near as classy, but you know what?  IT'S OKAY!
There we go!  It's all done!  Whew!
The finished card!
What do you think of the sentiment?  Do you think it's cute as can be, or plain cheesy?

Tuesday, July 12, 2016

Make a Springy Watercolor Card

Do y'all remember when I guest posted for Jennie at Little Girl Designs?  Welp, I hope you enjoyed it, because I get to re-share that post with you today!

That was back in the Spring time, so this card was fitting.  Now, we're approaching Fall already (don't know whether to cry or jump for joy), and this card doesn't really match the season, but it's okay.  Someone could use a Spring card any time of year!
Supplies
White cardstock
Molotow art masking liquid pump marker (what I have) or liquid frisket
Watercolor paper
Watercolors
Tissue paper
Sticker maker (if you have one)
Extra-fine light pink marker (I prefer sharpies)
Liquid glue (I specify liquid, because that's what I use and prefer, but really you could use whatever type of glue you want that actually works; I don't think glue sticks work well)

If I was making this card in the most efficient manner, I would do the masking liquid part first, so that it could dry while I cut out circles, but that's not actually the order I did it in, so I won't organize this tutorial in that way.

The first thing I did was cut out three circles from white cardstock.  The circles should be of varying sizes.  They need not be exactly the size of mine, but to give you an idea of how big each should be, my biggest circle has about a 2-3/4 inch diameter, the middle about a 1-3/4 inch diameter, and the smallest a 1-1/8 diameter.
That being said, I think it might look a little better if the biggest circle was a bit smaller, and it probably wouldn't hurt if the middle circle was a little smaller too.  To get the circle shapes, I traced around various circular objects I found in my room, which you could do, or you could use a compass.  Either would work.

I set the circles aside, and got out my trusty art masking liquid.  Liquid frisket was on my Christmas list, but instead I got this stuff, which seems to work just fine!
Before drawing with the pump marker onto watercolor paper, we need to cut out the watercolor paper first, of course!  I cut mine to 2 inches by 4-1/2 inches.  I think it actually would look a little better if it was slightly smaller, but it works fine.
After that's cut to size, we can start on the fun stuff!  The first time I made this card (nope, this isn't the first time), I wrote the words, "HEY, YOU," in the same font as I did here.  In other words, all caps, and with the scallop border too.  Wait for that to dry before heading onto watercoloring.
This is one of my favorite parts because it's fun, easy, and beeyoooootiful.  For the watercoloring, I usually, without wetting the paper first, start with pink (not sure why - you certainly don't have to!), dab it in the top left corner and then dab on the orange, and then light orange, and just go back and forth between those three, until it's all covered!

My art teacher has talked about this thing that happens with watercolors, called a blossom.  It just means that when you paint an area and it dries and then you go back and continue painting, it will be obvious where you left off, because there will be a sort of mark.  A lot of times when painting a picture, blossoms are bad, but with things like this, I think blossoms are a good thing, and I love the way they look!

After that's all dry, you can rub off the masking liquid to reveal the white of the paper!  Because of this, feel free to go kind of dark with the watercolors so when you rub off the stuff, there will be an obvious difference.
Note: When I used this masking liquid for the first time, I thought you were suppose to peel it off when it was dry (because that's what the directions say to do), so I got quite frustrated when it wasn't working.  After a while I just started rubbing it out of frustration, and was overjoyed to find it came off!  So if you get this stuff for the first time and it doesn't work to peel, then rub.
I have a mesh drawer under my desk full of tissue paper that I've collected over the years.  I don't use it that often, but it certainly comes in handy!  To stay with the color scheme of pink and orange, I used orange, light pink, and hot pink.  These will be used to cover the circles we cut out earlier.  Hot pink for the biggest, light pink for the middle, and orange for the smallest.
Cut out a square from each color, that is each a little bigger than the circle it will cover.  Carefully insert each square of tissue paper into your sticker maker and roll until they emerge out the other side!  Individually peel each piece from the backing, and stick the circle on.  I like to leave part of the tissue paper still on the backing while I stick on the circle, because it curls up really easily, and is difficult to uncurl because of the stickiness.

Note: Of course it is not hard or time consuming to erase the pencil lines around the circles, but if you want to eliminate that step, be sure to lay the circle down on the tissue paper with the marked side facing you, not the tissue paper, so it doesn't show through.  Especially do that if you used a pen!
Once the circle is safely on the tissue paper, pull the leftover down on the back.  I like to do it in a nice orderly fashion, but who cares - no one's going to see it!
If you don't have a sticker maker, perhaps you could squirt some liquid glue on your finger (or the circles) and rub it all over the circles and then stick on the tissue paper squares.
I had my blank card set aside this whole time.  Once all the previous steps are done, you can go around the edge of the card with a light pink marker and roughly draw a border with scallops.  Don't try to make it perfect.  In fact, try not to make it perfect!
I always like to put together all the parts of my card before gluing everything in place, so I know exactly what it'll look like, and can do any last minute touches.
When you have your circles in place as shown above, you can go around them with the scallop border like you did around the edge of the card.
Now adhere the circles in place, and put the sentiment over top!  If you do have a sticker maker, you could use that again here for the circles and sentiment, and it would make everything even more secure than liquid glue would.  I didn't because I don't like to use up my sticker maker cartridge if liquid glue works fine.
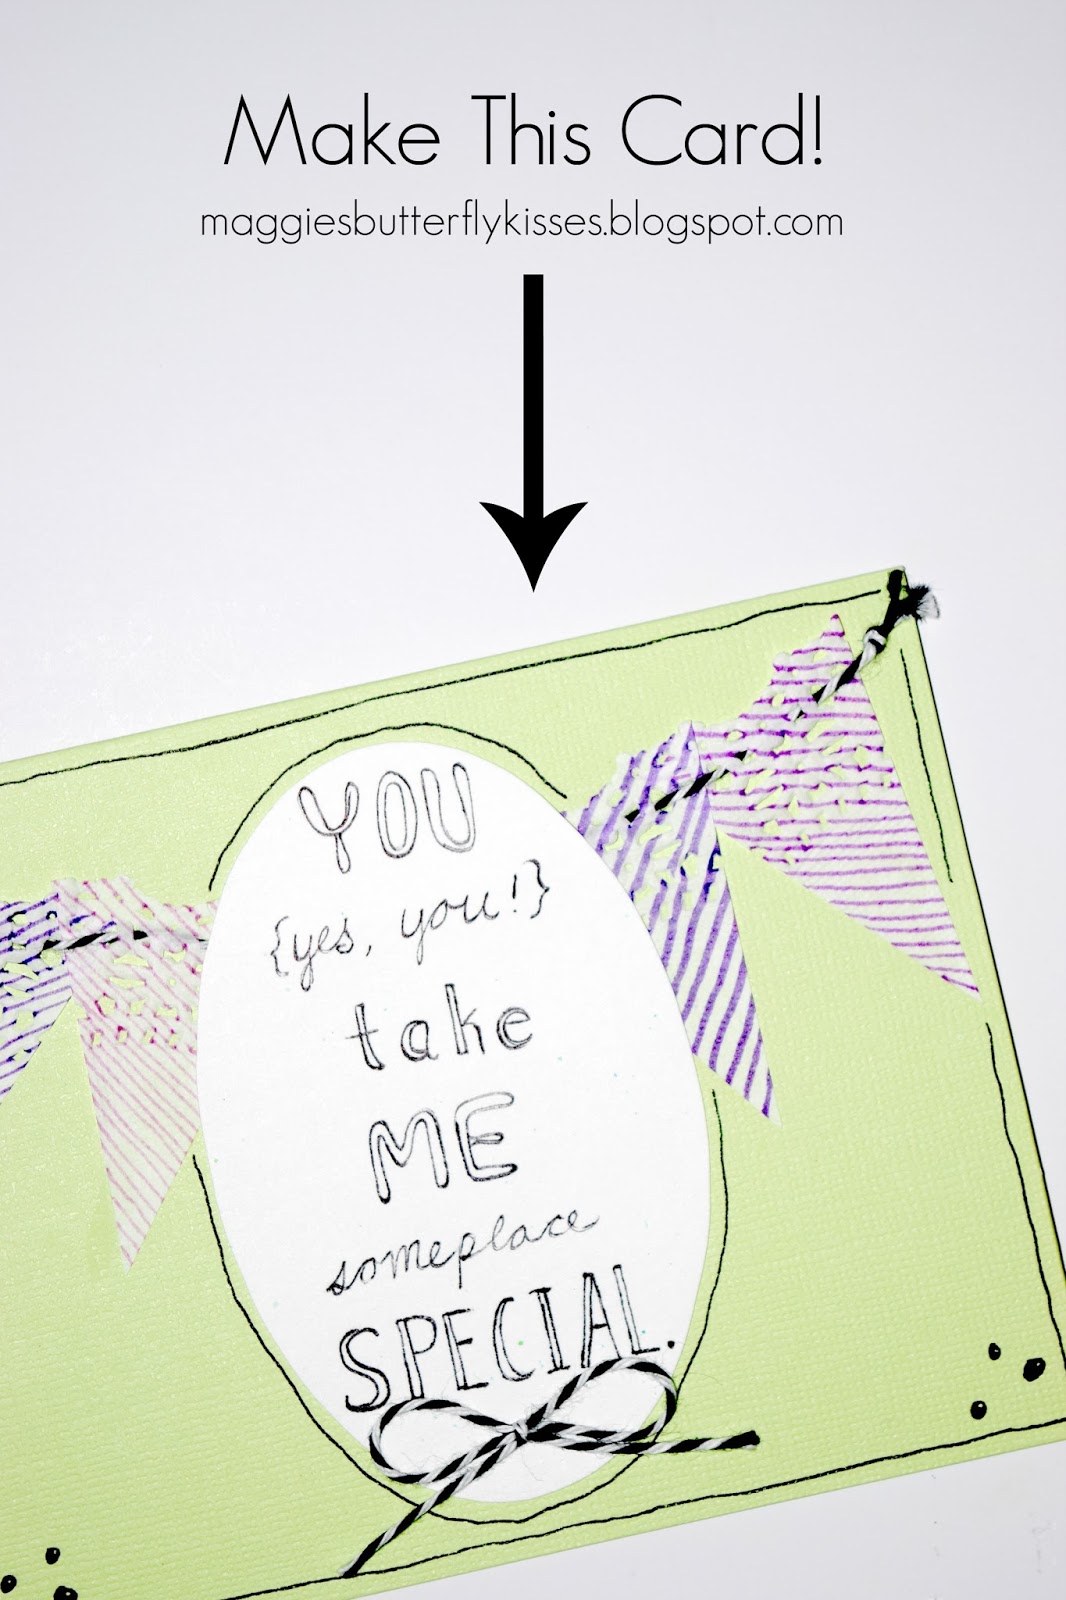
And it's done!  Since this is such a Spring-y card, I love the way it looks with the pretty flowers in the background.  :)  Now go make one of your own, and knock your pen-pal's socks off!
Heheh, this was one of the first pictures I took of this card.  Isn't it fab?


Have you ever used liquid frisket or this Molotow stuff I have?