I've been somewhat uncreative in the card making industry lately. But guess what happens when I just had a birthday (meaning I have a bunch of new supplies) and I have more free time than normal! It means I get to sit at my desk and pace around my room and look at all my new stuff and BOOM! Get ideas! Sooooo that's what did happen! And I came up with this. ALL IN ONE DAY! WHAAAT? A WHOLE CARD IN ONE DAY? Yes! In FACT, it was a HALF DAY! And that's the whole thing! The thinking and all! Let me tell you something. That never happens!
 |
| Look! Just LOOK at it! Doesn't it make you melt?! Well, it makes ME melt, anyhow. I got this and the paper below for my birthday from my seester Rebecca. She knows me well enough to know that I go crazy over paper. Crazy is a good thing. Because paper is a good thing. |
 | |
| One of my gifts was a scallop edge punch! It was a lot of fun to use (Ha! How couldn't it be? They're scallops, for crying out loud!), BUT, one thing that bugged me a little bit was that you have to put the paper in the opposite way of what I'm used to. Other than that, it was fine. It did cut a pretty big amount off the sides. The piece above was, before I used the punch on it, the same size as the card. |
 |
| Oooooohh, more beautiful paper! Not as beautiful in my opinion as the black and white stuff, but it's TEXTURED! I am a fan of textured paper. |
 |
| I didn't measure this when I cut it out, but as it turned out, it was almost exactly 1 inch by 1 1/2 inch. Instead of making sure it had exactly the right measurements, like I usually do, I decided to just leave it be. |
 |
| I cut it into a tag shape, and then cut out the same shape in vellum, and punched a hole in both. Notice how the corners are round. |
 |
| With my thin dark purple sharpie, I fancily wrote "thank you." I wasn't sure I would like the purple with the green, but it worked out fine in the end. |
 |
| I traced around the floral paper with the same purple sharpie, leaving space next to the paper. |
 |
| Notice how I put a little dot on each corner. Sometimes I do things like that and regret it later, but I rather like it in this case! |
 |
| Ahh, Baker's Twine! This was another birthday gift. I looove it, don't you? |
 |
| It took me while to figure this part out, but I finally did, and I will try my best to explain it to you. Which may or may not work. I'll bet it won't. So, you want to wrap it around twice. The left end should be in the notch third from the bottom on the left side, and the right end should be in the notch fourth from the bottom on the right side, if that makes sense. It doesn't make sense though, does it? So look at the picture which is so conveniently located right above where you are reading. Put the left end of the string into both tag pieces, and make sure they are facing downward, and then bring them around under the big paper, and over the right side so are now in the middle facing the correct way. It should be on the middle string that goes across the whole piece of black and white paper. Put the left end of the string through the top of the hole, and the right end through the bottom of the hole. |
 |
| This what it should look like now. Tie the ends together in a pretty bow. |
 |
| I discovered that if you simply pull the ends, the parts wrapped around the big paper will be too loose, so you have to hold them taught, and then tie the knot for the bow, then you can tie the bow itself. |
 |
| I always have a problem with the bow looking like this when I use string. |
 |
| ...But you can fix that by gently twisting the parts that you pull through until they sit right. Trim as needed. |
 |
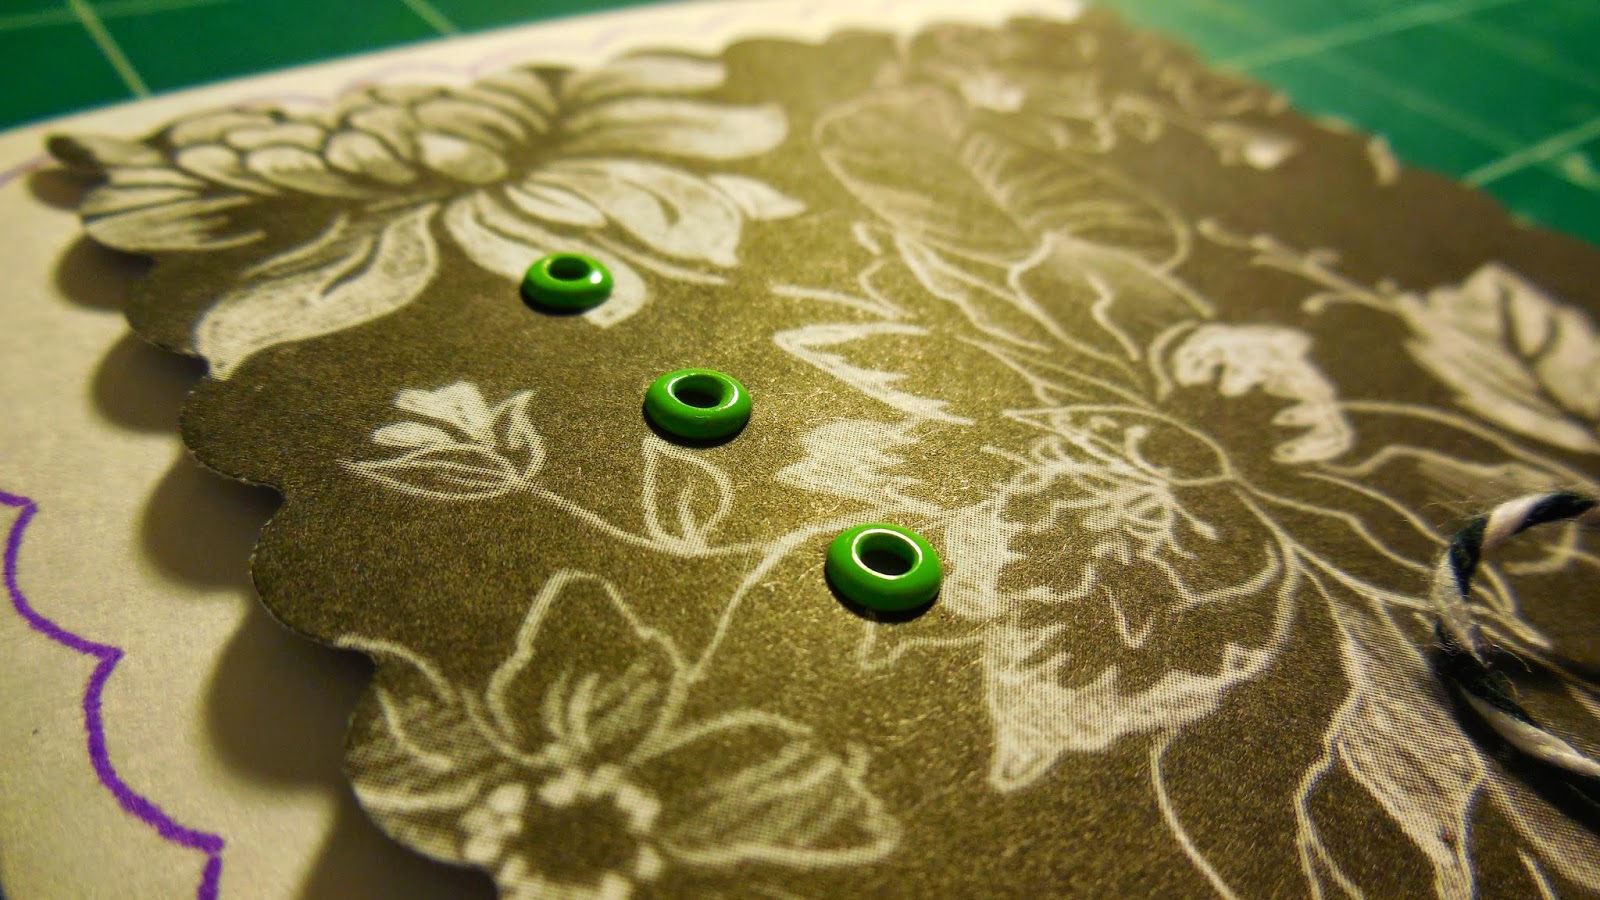
| Green eyelets! How fancy! |
 |
| Punch three holes along the upper left edge, leaving ample space. |
 |
| ...And put your eyelets in! |
 |
| OH! Did I not mention that the paper is double-sided?! The best kind of paper is double-sided, in my humble opinion. |
 |
| Oh, this card makes me happy. Yes, very happy indeed. |


Not sure I understand all that you did with this card, but...Good Job, Maggie! Nicely done.
ReplyDeleteBeautiful! I always mean to make cards for people and then...don't. Good job! :P
ReplyDelete