Unlike a certain
sister of mine, I do
not really care for glitter. However, I received some glittery paper for
Christmas, and I am not one to waste good paper. What I especially
liked
about this paper was that all the glitter stayed on the paper, and did not
get all over my hands and everything else in the vicinity! I'm used to
glitter getting everywhere when it's used, so I was
quite pleased that
this did not do that. Because of that, I actually kind of like the way
this paper looks with the glitter.
 |
| This
will be used for the background. I wanted something out of the ordinary
(as in, something other than a pretty blue sky), and I really like the way this
looks behind the vellum in the finished piece. |
 |
| This
is for the bigger of the two flowers, which we are about to make. |
 |
| If
I had differently sized scallop circle punches, I would use them. I could
even buy some! (What a novel idea!) But I rarely buy things, and
isn't it so much easier to simply find something round and trace around it, cut
it out, and then cut around it with the squiggly cut on your paper cutter, even
though it won't make a scallop circle, it will instead make a squiggly edged
circle, and therefore won't look as good as a scallop circle? |
 |
| Well,
no, that might not be easier, but that's what I did. I'm not going to go
to the trouble of driving to a craft store just to buy something like
that. Well maybe I would. But I haven't. ANYWAY, this picture
is the circle after I cut it out. |
 |
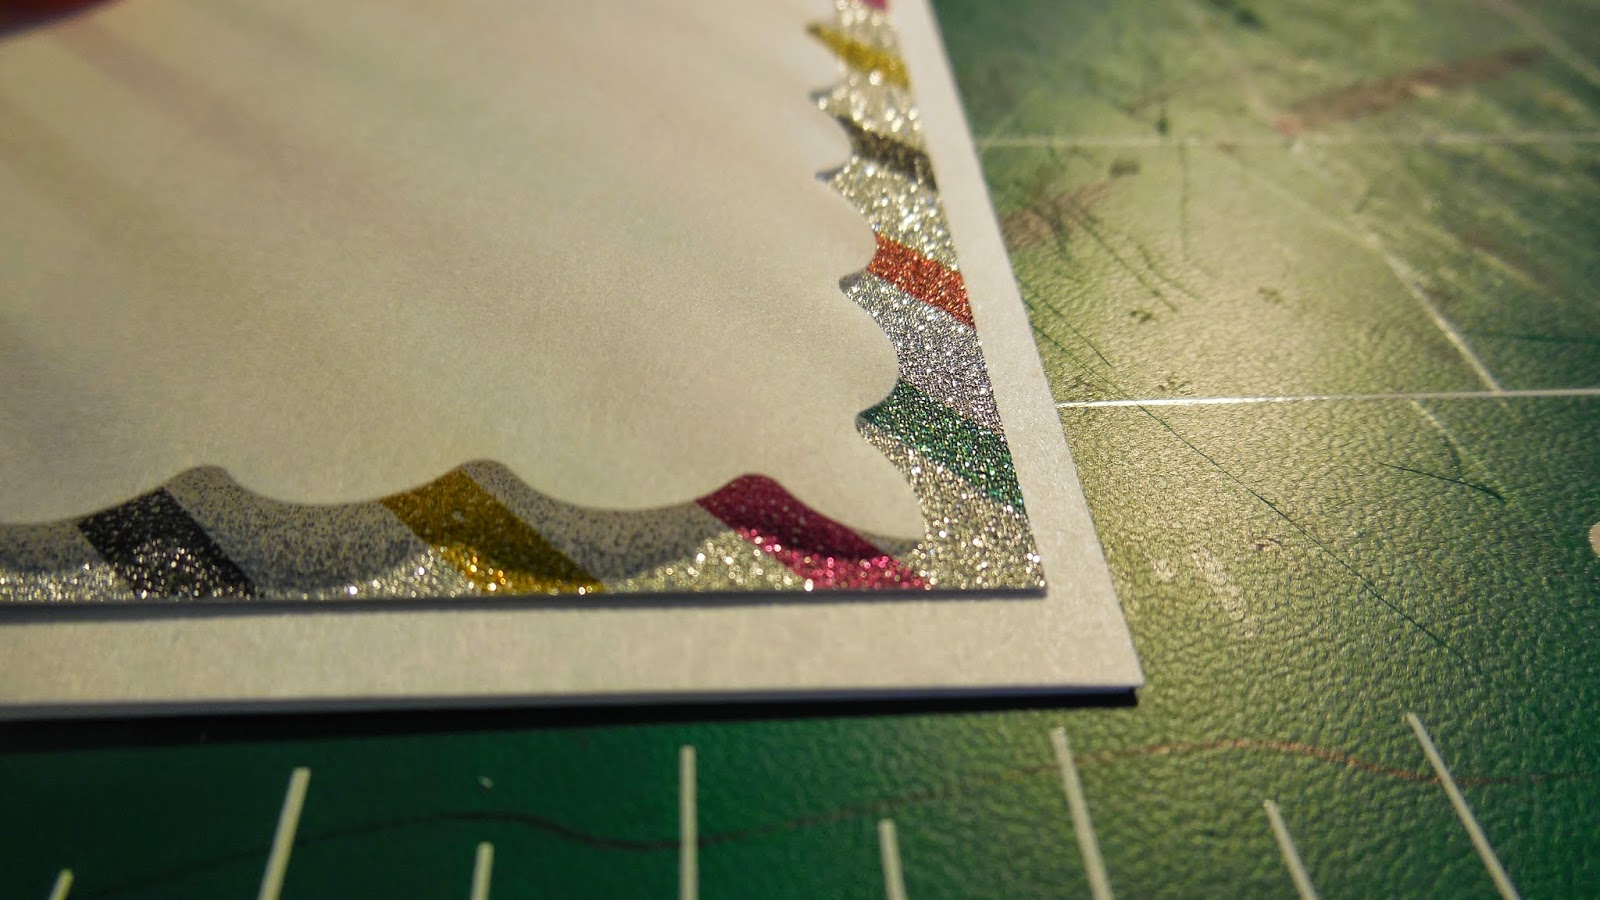
| This
is the squiggly blade on my paper cutter. I don't use it very often, but
it's always fun when I do. That really isn't saying much, though. I
usually enjoy whatever card-making tools I use while making cards. |
 |
| I
decided to test it on a scrap piece before I went around the real thing.
As you can see, it didn't work all that well, but I thought I would be able to
make it right for the glitter piece. |
 |
| The
blade didn't cut all the way through, so I had to go around it with my knife. |
 |
| ...Which is what I'm doing here. |
 |
| Unfortunately
it didn't work even the second time. But hey! Who says it has to be
perfect?! Me. I said it has to be perfect. Oh
well. I will survive. Oh as long as I know how to love I know I'll
stay alive. I will survive. |
 |
| There,
that one's better. Actually I trimmed the edge a little so it was the
right shape. |
 |
| It
took me a little while to find something the right size to trace around for the
vellum center of the smaller flower but I finally settled on the cap of my
extra fancy stainless steel sharpie. It's bigger than the other sharpie
caps. |
 |
| I went around it with pencil, then cut out. |
 |
| Here are both glitter pieces with both vellum centers. The diameter of the bigger center is about an inch. |
 |
| Punch a hole in the center of each flower with eyelet punch. |
 |
| You may not be able to tell here, but the eyelet on the left in this picture has not been punched out at all yet, while the one on the right has been punched out, just once. To do the string part, as we will in the next steps, you need to punch it out once, like the right eyelet is. As you, hopefully, can see, that one spreads out a little at the top, while the left one goes inward. That way, you can wrap the string around it with out it coming out of the hole. |
 |
| These
are left over from my last
post. They're all different lengths, ranging from, like, 3 inches, to
around 5 probably. |
 |
| I found that it's easiest to get tie it onto the eyelet if you first loosely tie it like this, and then sort of hook it on. |
 |
| See how there's space to hook it on? |
 |
| Pull down... |
 |
| ...And
tie tightly. |
 |
| I
used a longer piece for the bigger flower, and a shorter piece for the smaller
flower. |
 |
| This has been in the background of some of the earlier pictures, but we didn't need it until now, so that's why I'm just now introducing it. In the card from my last post, I was originally going to overlay the patterned paper with this piece of vellum, which is the exact same size as that piece was. I decided not to do that, however, so I'm using the vellum for this instead. |
 |
| This picture is simply to show you how we're going to layer ever'thin'. |
 |
| Ahh, looking at that "thanks" makes me happy. So uniform and perty. I did those leafy things with a pale green sharpie. They make me happy too. |
 |
| OOH!
Colored staples! Have you ever heard of such a thing?! I hadn't
heard of them, but I recently-ish I was thinking about them for some reason,
and I thought to myself, "Hmm! I bet those things exist!"
And so they do! |
 |
| I went around the edges, doing three staples on the bottom and top, and five on the left and right. |
 |
| I've
had experience with two kinds of staplers - the kind that makes the staples
flat on the back, and the kind that makes them stick up in the back. I
have the latter, as you can see. Because of that, the paper wouldn't lay
down flat when I put the glue on. |
 |
| Soo...with
my corner rounder, I sort of hammered them all down. It took a while and was kind of difficult...and frustrating, so hopefully you have the other kind of stapler. |
 |
| After I flattened the backs of the staples, I decided the paper was too...not porous enough for the glue to really work, so I put it through my sticker maker. |
 |
| This
is what it looks like after going through the sticker maker. |
 |
| There - now it's all nice and flat. |
 |
| I also put the flowers through the sticker maker, since, of course, they were made of the same paper, so glue wouldn't work on them either. Because the strings hang over the edge, I tucked them under the vellum while they went through the sticker maker. That way they didn't get sticky stuff on them unnecessarily. |


Fun, fun!
ReplyDelete