I'll tell you a little bitty tiny secret: I was rooting for that one all along! Now I'll tell you another secret, which in fact, is really not a secret. At first I only had four choices, and was going to only use those, but you may know that I hate the number four, and so I just couldn't bear to have only four choices. So I tried and tried for a good while to come up with a fifth choice, but it wasn't happening! Finally I had almost given up, but I decided to take a break, and then come back. And guess what! After stretching my brain to it's uttermost end, this brain in this head finally thought of one more option, and it turned out to be my favorite. At that point, I considered simply doing a blog post on that one, but I had already thought of letting y'all choose, and anyway, I liked the other choices too, so I went with the poll. Nevertheless, I'm glad the last one got picked!
Before I show you the finished card, I'll just walk you through a short tutorial of how I made it up to this point.
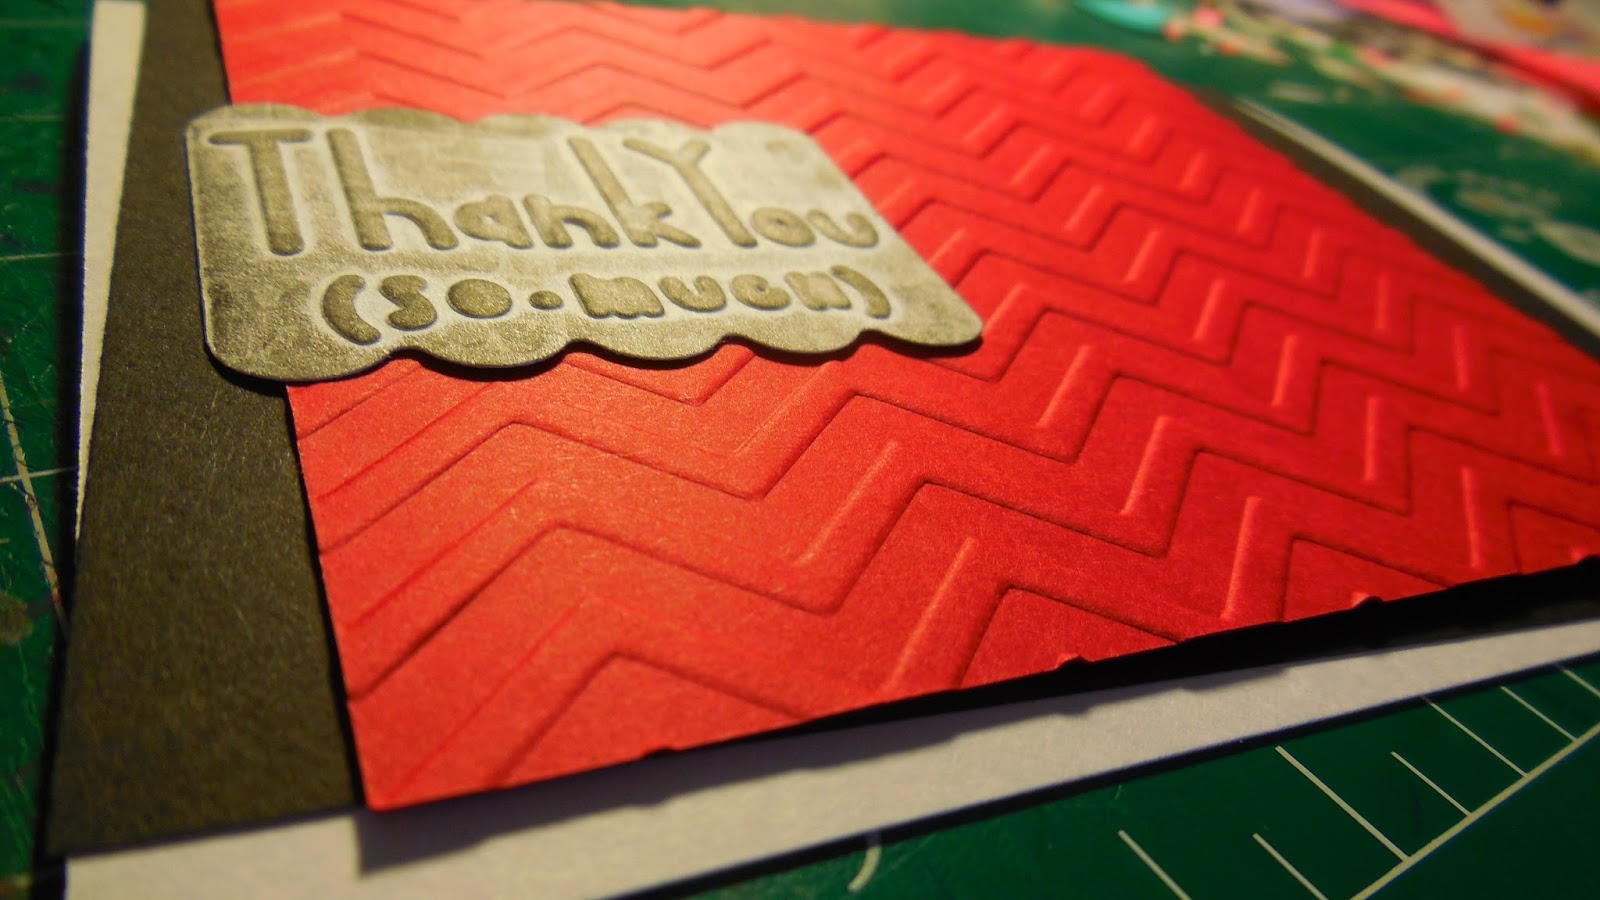
I first started with a 5 and 1/2 by 4 and 1/4 inch card, as always, folded on the long side. Then the black piece is 5 and 1/4 by 4 inches, and the red is 3 and 7/8 by 4 and 1/2 inches.
The "thank you" piece is a scrap that I had been looking for a use for, but was having trouble with. It's a little bigger than 2 by 1 and 1/2 inches. In case you're wondering, it was made by embossing a white piece with one of my Thank You embossing folders from Lifestyle Crafts (I couldn't find a link to put in so y'all could see what I'm talking about), and then I ran over it with my rubber brayer in black ink, which had already run over something else, so the ink wasn't so thick when it went over the thank you piece.
By the way, I'm sorry if the red here is overly bright, and looks sort of orange-y. In real life, it's a deep, dark red, and not at all orange. Deep colors are the best.


Ta daaa!
This is so cool! I love all of your tutorials! You're so talented!!!
ReplyDeletexo,
Anna <3
www.bananaandbear.blogspot.com
Wow, thank you Anna! Have a great day, and thanks for stopping by. :)
DeleteThis is so cool! I love all of your tutorials! You're so talented!!!
ReplyDeletexo,
Anna <3
www.bananaandbear.blogspot.com