Showing posts with label Embossing Folder. Show all posts

Friday, September 25, 2015

The Bold Red Card: You Made It Happen!

Sooo, last time, I gave y'all five choices to pick from, and option #5 got the most votes out of them all.  I'm sorry I'm two days late to get this post out, by the way.  You know, school sort of gets in the way.

I'll tell you a little bitty tiny secret: I was rooting for that one all along!  Now I'll tell you another secret, which in fact, is really not a secret.  At first I only had four choices, and was going to only use those, but you may know that I hate the number four, and so I just couldn't bear to have only four choices.  So I tried and tried for a good while to come up with a fifth choice, but it wasn't happening!  Finally I had almost given up, but I decided to take a break, and then come back.  And guess what!  After stretching my brain to it's uttermost end, this brain in this head finally thought of one more option, and it turned out to be my favorite.  At that point, I considered simply doing a blog post on that one, but I had already thought of letting y'all choose, and anyway, I liked the other choices too, so I went with the poll.  Nevertheless, I'm glad the last one got picked!

Before I show you the finished card, I'll just walk you through a short tutorial of how I made it up to this point.

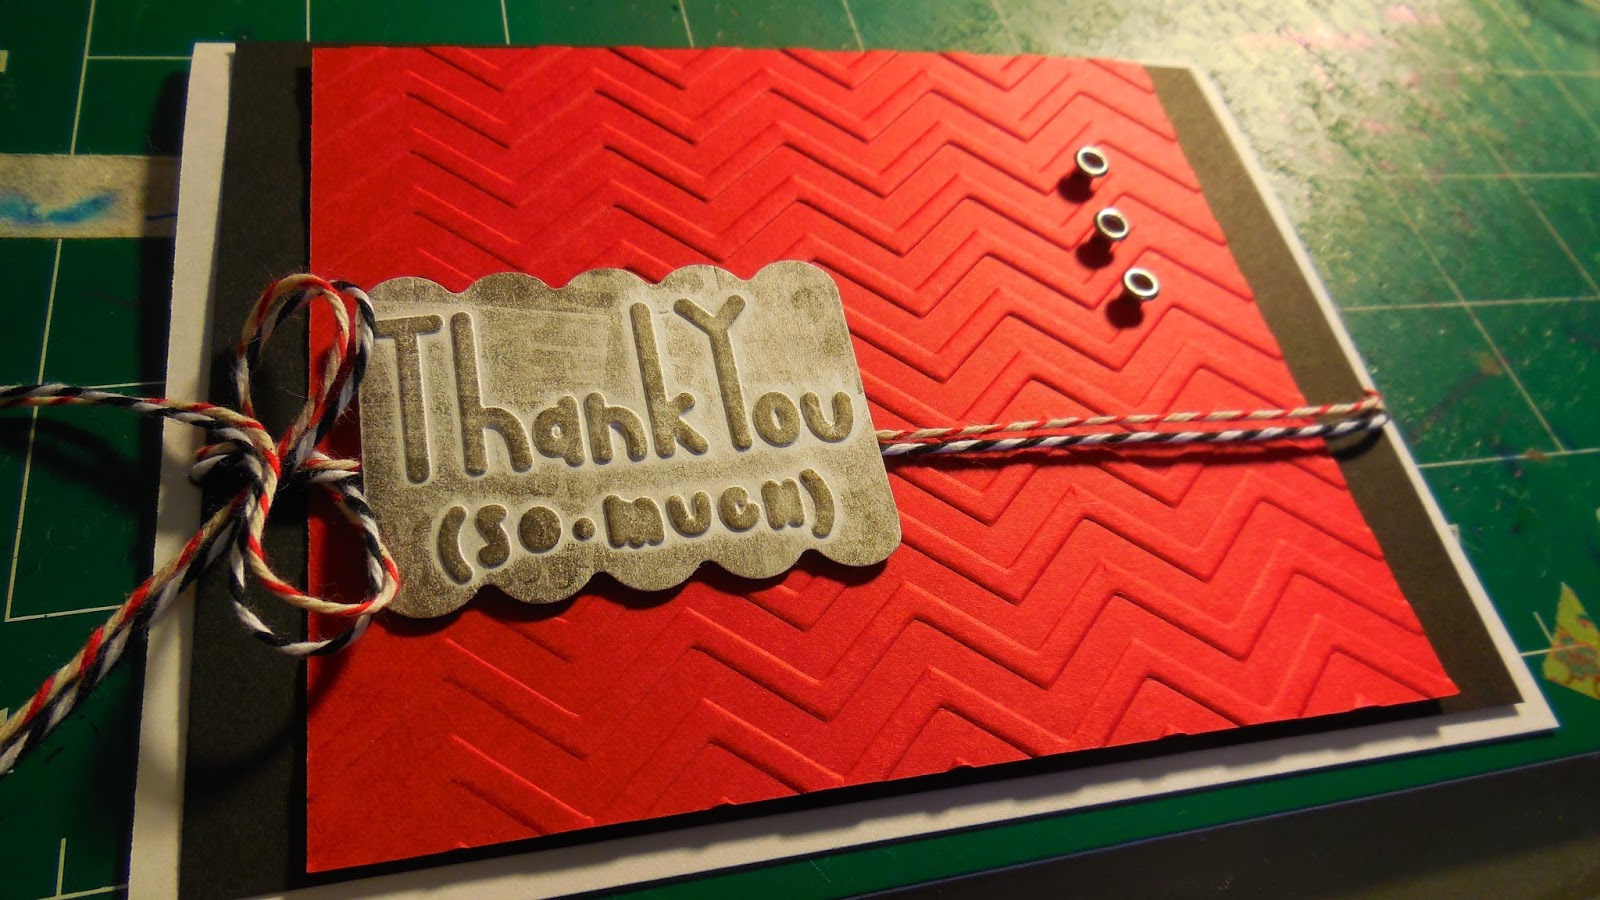
I first started with a 5 and 1/2 by 4 and 1/4 inch card, as always, folded on the long side.  Then the black piece is 5 and 1/4 by 4 inches, and the red is 3 and 7/8 by 4 and 1/2 inches.

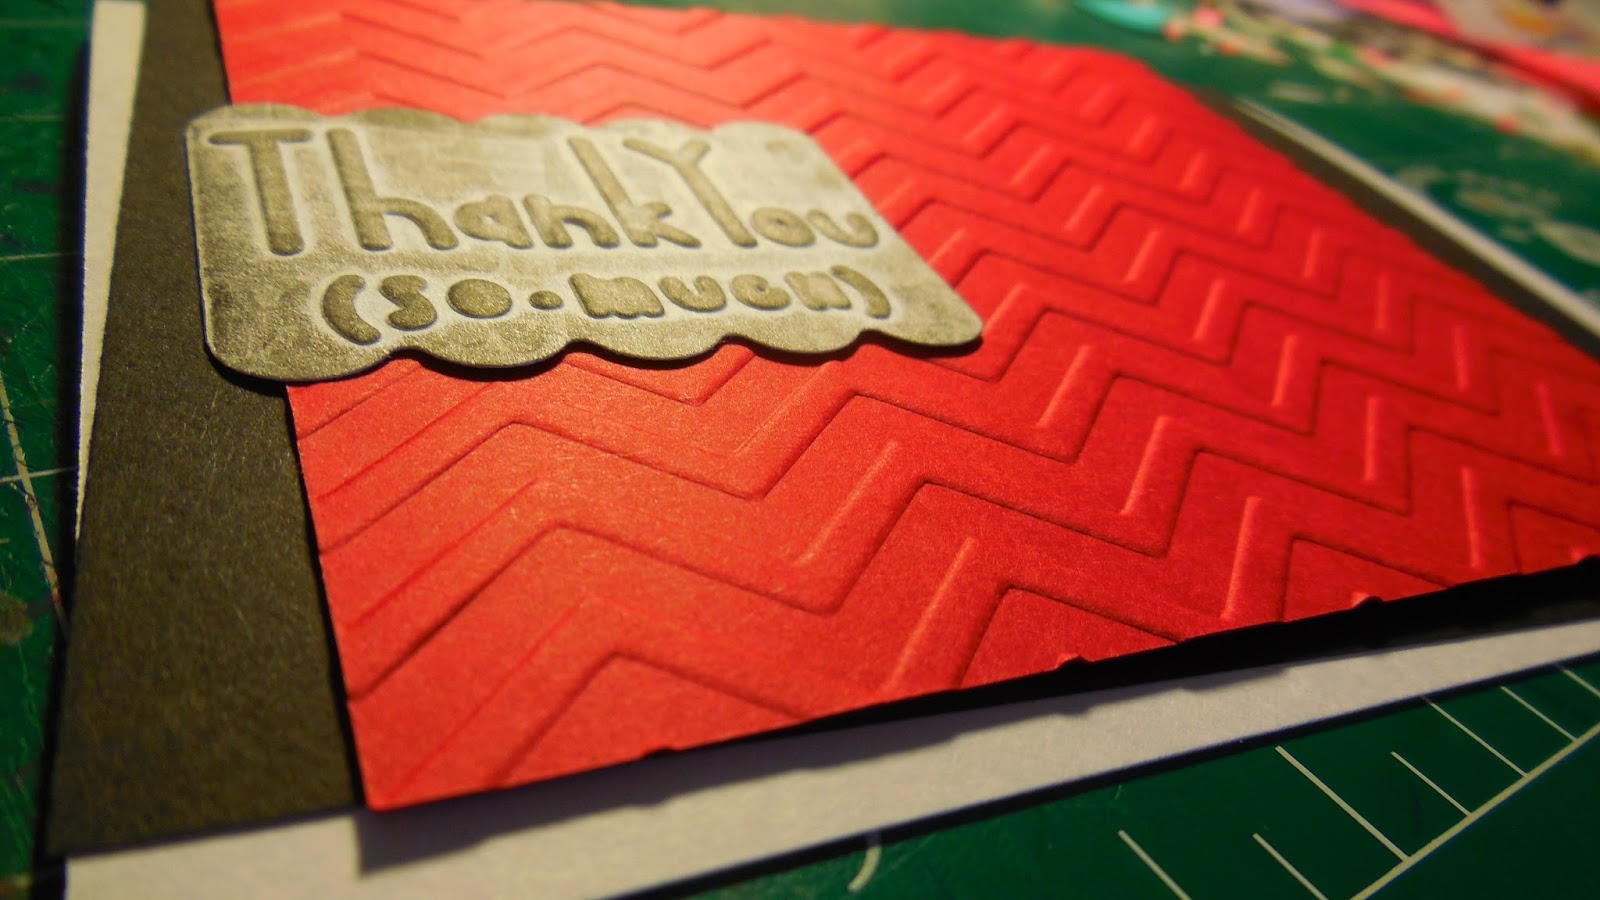
The "thank you" piece is a scrap that I had been looking for a use for, but was having trouble with.  It's a little bigger than 2 by 1 and 1/2 inches.  In case you're wondering, it was made by embossing a white piece with one of my Thank You embossing folders from Lifestyle Crafts (I couldn't find a link to put in so y'all could see what I'm talking about), and then I ran over it with my rubber brayer in black ink, which had already run over something else, so the ink wasn't so thick when it went over the thank you piece.

By the way, I'm sorry if the red here is overly bright, and looks sort of orange-y.  In real life, it's a deep, dark red, and not at all orange.  Deep colors are the best.
Emboss the red so that the chevron goes horizontally.  I used this one.
Then it was time to put the string on!  I used both red (which I'd never used before) and black.  You should cut two of each color, measured to 5 and 1/2 inches.
To make it look the best, I aligned the string with the corners on the chevron on the left.  After that, the eyelets went in on the right, and then the thank you piece in the middle.
Ta daaa!

Wednesday, September 16, 2015

Five Options... Which Will You Choose?

That title is suppose to look all ominous and stuff.  Me thinks it does not.  But on to the post!

Sad face.  Maggie didn't make any cards last week.  Or this week.  At all.

What?  No cards at all for a week and a half or more???  Shame on me, I know.  But guess what!  You, yes you, my dear reader, get to help me make one soon!  (Woot woot!)


This card has been sitting on my desk, half finished, for possibly weeks.  I haven't quite decided how to finish it.  But I was playing around with it the other day, thinking of different options I might go with, and then I had this super idea to let y'all choose what to do!  This will be so fun!

Okay, so maybe it won't be the highlight of your day or whatever, but please admit you'll get some enjoyment from it.  Please? Yay!

In an upcoming post, I'll show you a brief tutorial on how I made the card up to this point, and then I'll show you the finished card, so keep your eyes open!

And, here are your choices!  Vote away (over there on the right)!  The poll will be open until September 23, at midnight.  Hopefully that's plenty of time!

Note: Since I don't yet know which style I'm going to make, I didn't know what length the string would have to be cut to.  That means that when photographing each card idea, the string was still attached to the spools, and I didn't try to tie the knots and bows as well as I would for the actual card.  So if you see strings going off the card in an unnatural way, just know that it shouldn't look like that when I make the card later.  Also, I may tweak or change things a bit after y'all have picked which card style I'll use, but it will stay basically the same.

Again I say, get voting!
Option #1
Option #2
Option #3
Option #4
Option #5

Tuesday, August 25, 2015

Re-do of an Old Card

A {long-ish} while ago, I sent a card to a couple friends (sisters), and soon after, one of them asked me to do a blog post on it.  It took me too long, but finally, I got around to it!  I don't usually like to remake cards, so of course I had to change it a bit, a.k.a., improve it.  Below is a picture of the first version of this card.
First of all, I didn't have another huge pink flower I could use, so I had to figure out some other flower to put in the middle.  I happened to have these yellow fabric flowers in my closet that had been there for years.  At first I didn't know if they would work since they're so much smaller than the pink flower in the original card, but I got to figuring in my head, and decided to go with the yellow ones.  I mean, it's not like I'm gonna go out and buy something.  That would be silly.
There was no doubt in my mind that I wanted to use the same embossing folder as before.
I knew for sure that I did not want to have that band of paper around the middle.  But of course it still had to have some sort of band in the middle, so instead I used light pink sheer ribbon with black/white baker's twine wrapped around.
I wouldn't normally recommend using tape, but it was really the best option for this since glue wouldn't do the job very well.  So, after wrapping the ribbon around center, I taped both ends down.  I had to re-adjust the ribbon a bit to get it perfect.
After that was securely taped down, I carefully wrapped about 15 inches probably (I'm just guessing as I write this.  I didn't measure when I made the card.) of baker's twine twice around, and then tied a bow on the side.
I love the look of baker's twine over ribbon, don't you?
Here's one of the flowers that had been in my closet for so long.  I was actually quite happy to use it, despite my doubt at first.  I love to declutter!
I didn't want too much yellow, but still a little, so I separated the petals and only colored one.  At first I planned to color the whole thing with my light orange sharpie, so one of the petals is all orange, but after doing that first petal, I decided to do the ends light pink.  That way it goes with the pink ribbon.
I colored the ends with pink, then filled in the rest with orange.
This isn't a great picture, so it's hard to see how it actually looks.  It's not quite so bright in real life.
After all that was done, I had to put the flower center back in, of course.  To keep it all together, I blobbed super glue on the back.  The reason I didn't use regular liquid glue is because it had to be strong enough and fast drying.
Before the glue dried I stuck the flower there in the middle, and the only thing left was to adhere the  whole piece to the card!
In the original card, I dashed around the edge (yeah!  Sharpies can run duper fast too!  ...Okay...I know...lame joke...), but I didn't particularly like that look, and for this, I think it looks better with a blank edge.

Friday, July 10, 2015

You Make Me Happy

I wasn't planning to take pictures in the beginning (which is why I don't have pictures of the beginning), but I just couldn't resist doing a post on this card with that title!  I wish I could send this to so many people.
I use that embossing folder more than any other.  It's so versatile.  The paper is 3 3/4 by 5 inches.
THIS makes me happy!  "You" and "happy" were die cut, and I hand drew and cut "MAKE" and "ME."  I especially love that "MAKE"!
With a thick purple sharpie, color in all of the word pieces.
I LOVE PURPLE.
With a coordinating color, trace a triangle, as shown, in the corner.
Then fill in as desired.  I desired to do a cross-hatch pattern.  You don't need to fill in the middle part, because that will be covered up.  Not that it's much more work to do it.  For serious!
Position embossed piece on card.
Swoon with me!  No, this is not a swooney sort of card.  Squeal with me!

Thursday, February 5, 2015

Chevron Hello

I made this card, oh...about a week and a half ago probably, and I finally got the time to post on it!  I always get so excited when I'm using embossing folders!  They are super fun!
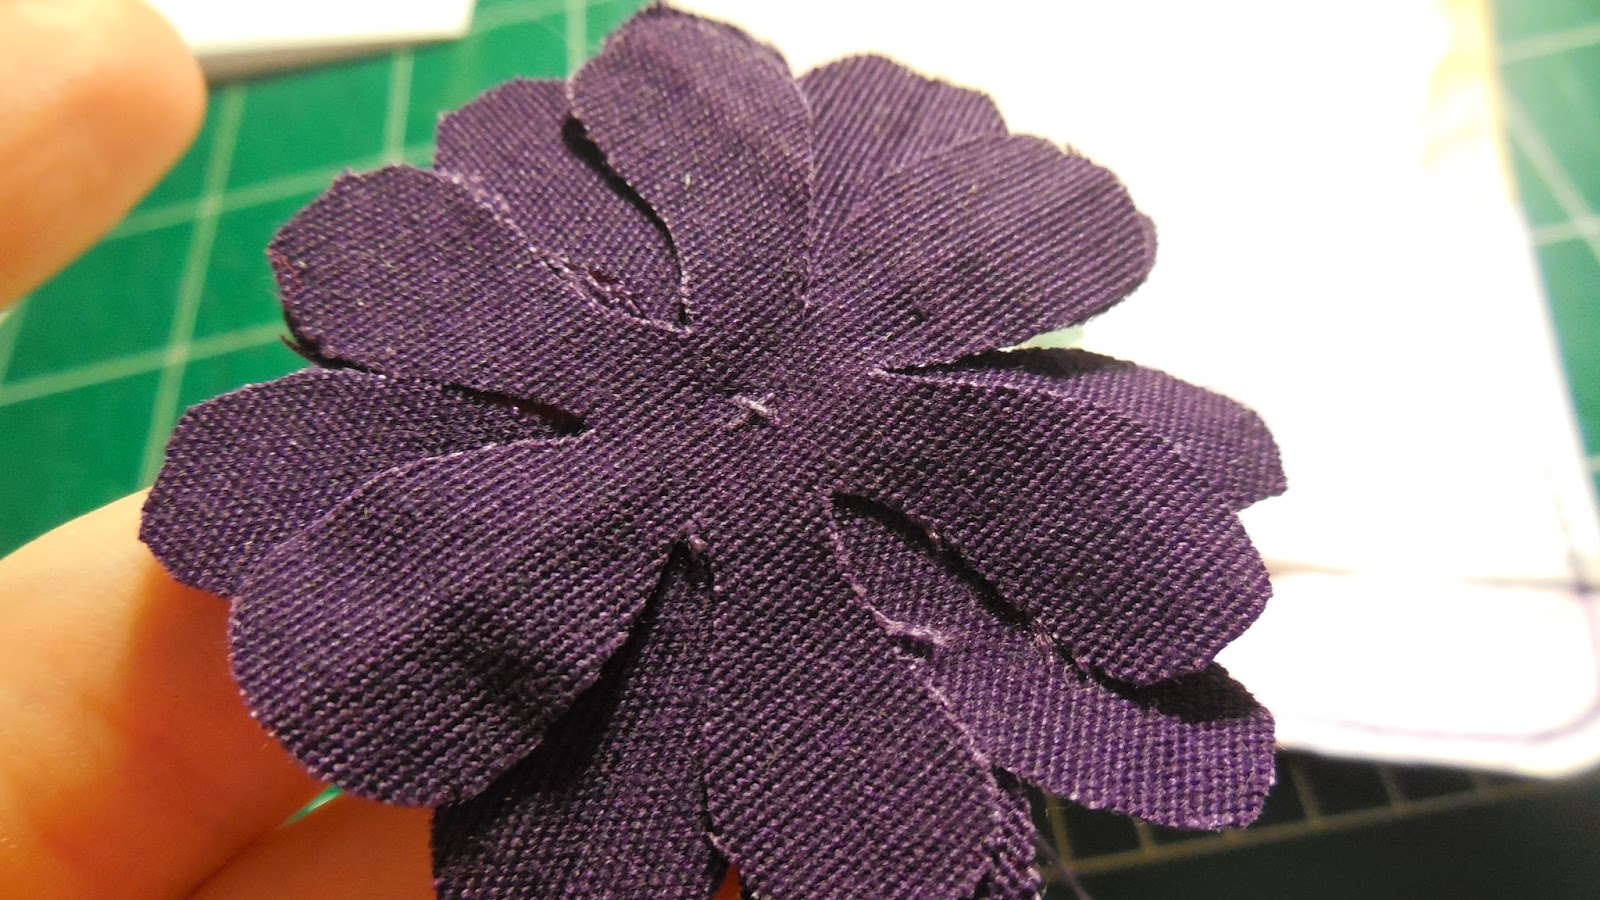
This is a tall pile of purple fabric squares!  We are going to make a flower the exact same way we did in Sorry I'm Late, so I won't go into as much detail on the instructions.
Cut out three flower shapes.  This fabric doesn't fray that much, but even if it did, it would probably make it look sort of cool and vintage...or something like that?  So it wouldn't really matter.
Stack them on top of each other so they all look evenly spaced, at least from the top, if not the underside.
For the thread in the center, I simply used some thread that had come out of the very same fabric the flower came from.  For all I care though, you could use a completely different color in the center.  Assuming it matches of course.  If it doesn't match...I would care.  For the center, simply come up and go back down with the needle and thread over and over again.
I decided to back-stitch a circle around the center, so it looks even nicer!
This piece is 3 3/4 by 5 inches, with the corners rounded.  I then went around the inside edge with a thin dark purple sharpie.
Because this is water color paper, it's rougher.
This was my first time using my new chevron embossing folder!  It was duper exciting.
I absolutely love the way the chevron embossing folder looks.  How couldn't I?  It's chevron!
Water colors are really fun if you do it right.  I've had this set for many years.
After completely wetting the paper, gently blot different colors onto the wet surface.  You must do all that in a timely manner, so as not to let it dry before getting on all the colors you want.  Remember that the colors will be lighter after they've dried.
I may have messed with the colors a little too much, or maybe it's just that I shouldn't have used blue.  If you're not careful with water colors, it could get muddied.
Notice how the color sinks into the grooves.
Vellum!
Cut out a 1 1/2 by 2 inch piece of white cardstock.  We will be making a tag shape by cutting out a "V" from one end.  I used an envelope to trace around.
For the vellum piece, I just held it in place over the cardstock, marked a small border (about 1/8 inch), and then cut out.  The flat ends (opposite of the "V") should be lined up together, though.
Use a straight piece of scrap paper to draw dots down each side of the cardstock tag piece.  They will show through the vellum in the final product.
Write something short and sweet on the vellum piece.
Since vellum is translucent, glue on the underside might show through, so I chose to back-stitch.  I think it's fitting, since there will be a fabric flower in the opposite corner.
Position the tag in the bottom right corner with regular liquid glue.
...And position the flower in the upper left corner with a glue dot.
I LOVE CHEVRON.