Showing posts with label Corner Rounder. Show all posts

Thursday, February 5, 2015

Chevron Hello

I made this card, oh...about a week and a half ago probably, and I finally got the time to post on it!  I always get so excited when I'm using embossing folders!  They are super fun!
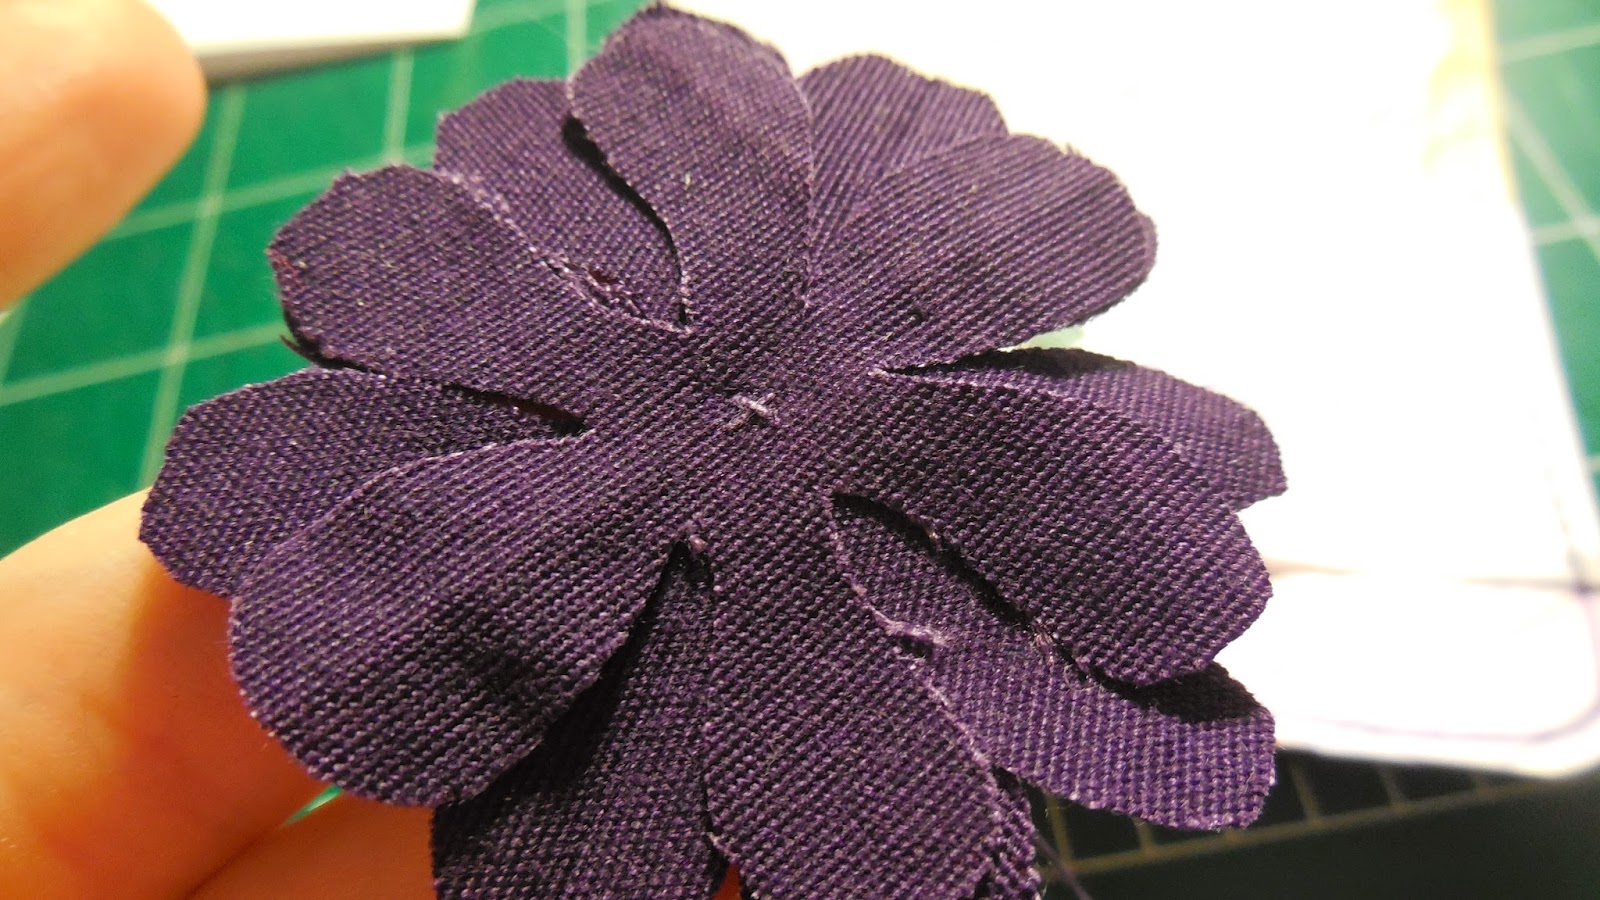
This is a tall pile of purple fabric squares!  We are going to make a flower the exact same way we did in Sorry I'm Late, so I won't go into as much detail on the instructions.
Cut out three flower shapes.  This fabric doesn't fray that much, but even if it did, it would probably make it look sort of cool and vintage...or something like that?  So it wouldn't really matter.
Stack them on top of each other so they all look evenly spaced, at least from the top, if not the underside.
For the thread in the center, I simply used some thread that had come out of the very same fabric the flower came from.  For all I care though, you could use a completely different color in the center.  Assuming it matches of course.  If it doesn't match...I would care.  For the center, simply come up and go back down with the needle and thread over and over again.
I decided to back-stitch a circle around the center, so it looks even nicer!
This piece is 3 3/4 by 5 inches, with the corners rounded.  I then went around the inside edge with a thin dark purple sharpie.
Because this is water color paper, it's rougher.
This was my first time using my new chevron embossing folder!  It was duper exciting.
I absolutely love the way the chevron embossing folder looks.  How couldn't I?  It's chevron!
Water colors are really fun if you do it right.  I've had this set for many years.
After completely wetting the paper, gently blot different colors onto the wet surface.  You must do all that in a timely manner, so as not to let it dry before getting on all the colors you want.  Remember that the colors will be lighter after they've dried.
I may have messed with the colors a little too much, or maybe it's just that I shouldn't have used blue.  If you're not careful with water colors, it could get muddied.
Notice how the color sinks into the grooves.
Vellum!
Cut out a 1 1/2 by 2 inch piece of white cardstock.  We will be making a tag shape by cutting out a "V" from one end.  I used an envelope to trace around.
For the vellum piece, I just held it in place over the cardstock, marked a small border (about 1/8 inch), and then cut out.  The flat ends (opposite of the "V") should be lined up together, though.
Use a straight piece of scrap paper to draw dots down each side of the cardstock tag piece.  They will show through the vellum in the final product.
Write something short and sweet on the vellum piece.
Since vellum is translucent, glue on the underside might show through, so I chose to back-stitch.  I think it's fitting, since there will be a fabric flower in the opposite corner.
Position the tag in the bottom right corner with regular liquid glue.
...And position the flower in the upper left corner with a glue dot.
I LOVE CHEVRON.

Friday, December 26, 2014

Noel ~ Born is the King of Israel!

I'm going to say it right out.  I don't like this card.  Call me a scrooge, but I really don't like the traditional Christmas-y red and green, especially this shade of green with this red.  Yet, I continue to make cards with the red and green theme.  I guess it's because it's easier when you already have a color scheme to go with, without having to think of it yourself.
This is a stamp I made specifically for this project.  I was like, "Hey!  I need a stamp!  Right now!"  So I made one.
I really like how it turned out.  That white fabric, by the way, is left over from Sorry I'm Late.
I made this patterned paper by putting fabric in the copying machine - and copying it.  this particular piece of paper is 2 3/4 by 2 3/4 inches, with corners rounded as you can see.
Back stitch a border with dark green thread.
This is a 5 1/4 by 4 inch piece of vellum paper.  I outlined it with green, then with my bone folder, wrote at the bottom, "born is the King of Israel."  It shows up better than it would on ordinary paper.  My cursive is so much better when I'm writing with a bone folder!
I was planning to simply put the noel thing on and be done, but I thought it needed more, so I used an embossing folder.  This is actually, I believe, the first time I've ever used this embossing folder for a card, even though I've had it for a couple of years.
I again decided the card needed more, so I went over the words at the bottom with red sharpie.
Because vellum is translucent, you have to put the glue under places where it can be covered up.  If you don't, you will be able to see where the glue through the other side.At least that's what I've heard, and I thought I had experienced it before, but when I put glue on a scrap piece of vellum, it didn't seem to show on the top side.

Tuesday, December 23, 2014

Fringe Tree

     My first Christmas-y post, and it's two days before Christmas!  Well sorry, but I guess you'll just have to wait until next year if you want to use this one.
Long strips of green paper, roughly 3/4 of an inch wide.
I don't have exact measurements for how long each piece should be, so basically decide how long you want the bottom one, then make each a little shorter than the last until you get one short enough to be the topper.
You may be wondering what that wacky looking thing is.  Those are my fringe scissors, thus the title, "Fringe Tree."  Use them as far down the piece as possible without cutting off any part.  The most cuts you'll be able to get in one one piece is two, but trust me, it still save time.  For the parts you can't get with the fancy scissors, you'll have to use regular scissors.
Please, don't cut up your hymnal!  I used the same technique here as I used in Polk-dot Happy Birthday with the flower.   This piece of paper is cut to 5 by 3 3/4 inches.  I then rounded only the top left and bottom right corners, then outlined it with red.
With eyelet setting tool, punch two holes at an angle in the top left corner of paper.
Wire rimmed red shimmery ribbon.
Tie the ribbon in a nice knot, and trim the edges.  You need not double tie it because the wire will keep it tight, plus there will be glue underneath.
It looks like this picture was randomly stuck here, but this is actually the order in which I did it.  The picture is to show how much glue to put on, and where.  It's a good idea to run it down the edges also.  Start at the bottom, with the biggest piece, obviously, sticking each one about 1/2 inch above the other.
Rhinestones colored with red sharpie.  Of course you can always just get already red rhinestones.  Place them as shown in the picture below.
I think I did the tree a bit too low down.
These are super easy.  I made three more after this one.

Wednesday, December 17, 2014

Get Yer Nose (or Shall We Say Fingers?) in a Book!

This card uses book paper!  I've seen so many projects various places that use book, paper, and I love how it looks!  It looks so vintage!

Lay the paper over a sort of sharp thing, and make it look the picture below.  A really dull pencil might work.  It needs to not be very sharp, so it doesn't tear the paper.
This is what it looks like after cutting, and all spread out.
Outline the flower with a thick hot pink sharpie, then lightly go over the bumps with the same.
I was intending to use glue dots for these flowers, but it urns out they don't stick very well to this sort of paper, so I went the old-fashioned way and used a needle and thread!  Which probably looks better than if I hadn't.
A scribbly border.
I guess it's suppose to look something like music notes?
I love this font.  It's another one from Cardmaker's Hand-lettering Workbook.
Here's a secret: I actually didn't use paper from a book.  What I did was copy the pages of a book on our copy machine, but used that type of paper so it looked like the pages of a book.  The only reason I did that instead of use a real book was that I didn't want to take the book apart.