Thursday, February 5, 2015

Chevron Hello

I made this card, oh...about a week and a half ago probably, and I finally got the time to post on it!  I always get so excited when I'm using embossing folders!  They are super fun!
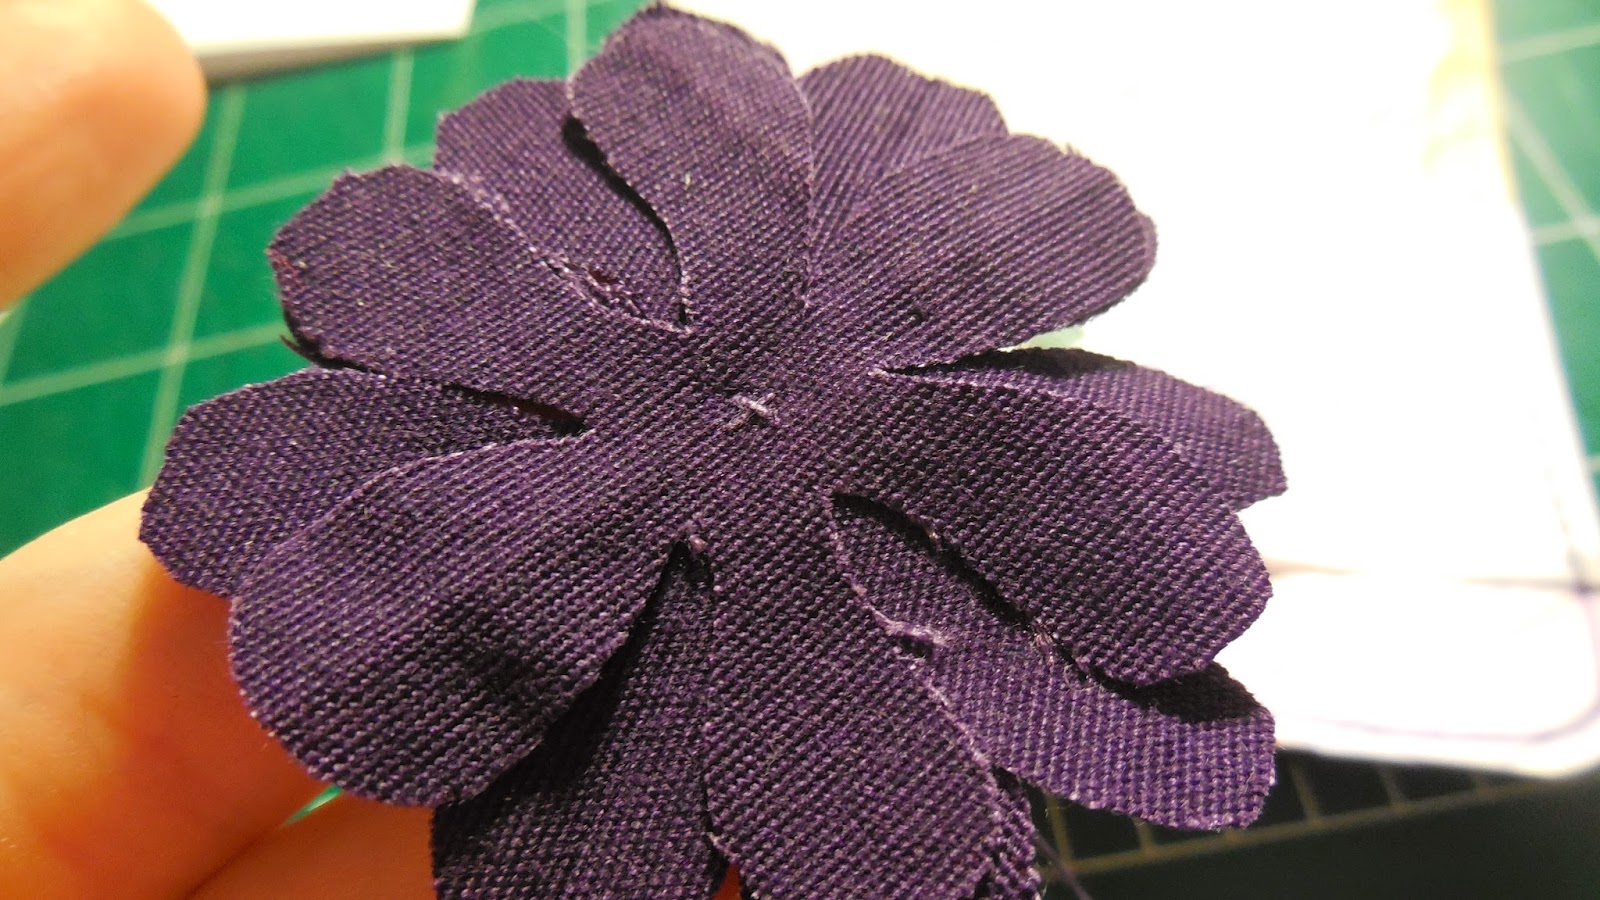
This is a tall pile of purple fabric squares!  We are going to make a flower the exact same way we did in Sorry I'm Late, so I won't go into as much detail on the instructions.
Cut out three flower shapes.  This fabric doesn't fray that much, but even if it did, it would probably make it look sort of cool and vintage...or something like that?  So it wouldn't really matter.
Stack them on top of each other so they all look evenly spaced, at least from the top, if not the underside.
For the thread in the center, I simply used some thread that had come out of the very same fabric the flower came from.  For all I care though, you could use a completely different color in the center.  Assuming it matches of course.  If it doesn't match...I would care.  For the center, simply come up and go back down with the needle and thread over and over again.
I decided to back-stitch a circle around the center, so it looks even nicer!
This piece is 3 3/4 by 5 inches, with the corners rounded.  I then went around the inside edge with a thin dark purple sharpie.
Because this is water color paper, it's rougher.
This was my first time using my new chevron embossing folder!  It was duper exciting.
I absolutely love the way the chevron embossing folder looks.  How couldn't I?  It's chevron!
Water colors are really fun if you do it right.  I've had this set for many years.
After completely wetting the paper, gently blot different colors onto the wet surface.  You must do all that in a timely manner, so as not to let it dry before getting on all the colors you want.  Remember that the colors will be lighter after they've dried.
I may have messed with the colors a little too much, or maybe it's just that I shouldn't have used blue.  If you're not careful with water colors, it could get muddied.
Notice how the color sinks into the grooves.
Vellum!
Cut out a 1 1/2 by 2 inch piece of white cardstock.  We will be making a tag shape by cutting out a "V" from one end.  I used an envelope to trace around.
For the vellum piece, I just held it in place over the cardstock, marked a small border (about 1/8 inch), and then cut out.  The flat ends (opposite of the "V") should be lined up together, though.
Use a straight piece of scrap paper to draw dots down each side of the cardstock tag piece.  They will show through the vellum in the final product.
Write something short and sweet on the vellum piece.
Since vellum is translucent, glue on the underside might show through, so I chose to back-stitch.  I think it's fitting, since there will be a fabric flower in the opposite corner.
Position the tag in the bottom right corner with regular liquid glue.
...And position the flower in the upper left corner with a glue dot.
I LOVE CHEVRON.

Wednesday, January 21, 2015

Let's Get Together

This wasn't meant to be a "Let's go on a date"  kind of card, but whatever, you could use it as that if you so desire. 
This is a vertical card.  Draw a line going all the way around, and then do the scallops on the right side.  I free-hand drew it, so that's why there are all those pencil marks.  Done with light brown sharpie.
Draw stripes all around.
Color in every other one.  I decided to wait until I had gone all the way around to draw stripes/color them in at the corner, so that way, if the colored in ones didn't match up, it wouldn't matter so much.  Which turned out to be a very good thing!  As you can see, they don't quite match up.
Then outline with black.
A big, beautiful strip of my favorite tissue  paper.
I free cut these scallops.  Each single scallop is about an inch wide.
This might be a little difficult.  Sort of crumple the flat edges so it becomes a flower...I'm so thankful that pictures are a thing.  My explaining skills are not the best.
After you've got it curled a bit, dab some glue along the flat edge, and sort of spiral the strip around until you've used it up.
Two pieces of tulle, roughly 2 by 2 inches each
This is a close up of the last picture.  It's hard to tell here, but this is a running stitch.
Pull tight so it gets crinkly.
Stitch the tulle squares to the center of the flower.  I realized just in time that I had to pull up the thread through a different hole than I had gone down through.  Duh.
I decided to tie a bow to use up all that extra thread.  You can see it poking out in the finished product if you look for it.
The finished flower
I was looking forward to doing this part, but alas, I messed up!  I fear I will never forgive myself.  It drives me crazy.  You may notice I started it too far from the edge, which means I sort of had to scrunch it up at the end.  AND, the most annoying part, I accidentally veered upwards at the end.  Normally, it wouldn't matter that much (even though it wouldn't look perfect), but since the words go sideways up this card, the top part is almost upside down when looking at it the right way.
Black and brown ink
I haven't used his stamp once since I got it last Spring, so I was pretty excited to finally use it.
Stamp first with black.  I'm not even sure you need to use the brown.
As you can see, it didn't stamp very well, with either black or brown.
I didn't think it looked dark enough, even after stamping with black a few more times, so I went over it with black sharpie.
With a thin light turquoise sharpie (only because that's the best I had, you could really use any blueish color that goes with the flower), draw a line of dots and scallops down the side.
Draw dots down the other side also.
Here's a secret.  I got these rhinestones from a hand-me-down short jean skirt.  I didn't particularly fancy the skirt itself, but since I happened to own it at the time, I took the liberty of taking the rhinestones off for personal use.  A.K.A. card making.  So that's why they have those prong things.  It's doesn't matter if you don't have them.  They just make it look sort of chic.

We're doing the exact same thing we did in Friend, with the dark sky blue and yellow sharpies.  Make sure to do yellow first. 

I really like the way they look with the backing.
I didn't think I would use my super glue as much as I have been when I received it.  It has certainly come in handy!  Dab a bit under the rhinestone.

The one good thing about the spacing mess-up with the typography is that there was room to put the rhinestones in the best place.  I could have put them to the left of the "L," but then they would have been more in the middle, and it just wouldn't look as nice.  In my opinion.

Put a glue dot on the underside of the flower.

...And position in the top left corner.

Saturday, January 10, 2015

The Little Green Bow

I was originally going to make this a Thank You or Birthday card, but I couldn't figure out a way to do that and still make it look good and uncluttered, so I decided to make it miscellaneous instead.  Which brings up the point that you do not always need to have words on a card.  Every single card in  the card making magazine that I get has words, but it's really not always necessary.
A good friend of mine made this wonderful little crumply flower picture thing and gave it to me to use on a card.  It took me a while, but I finally got around to using it! 
This light pink card stock is 1 9/16 by 2 inches.  Again, you do not need to use the same measurements I do!  Glue on the flower picture.
Ain't she a beauty?
Ooh, look!  Another beauty!
Since I am currently my own photographer, it would be quite difficult to take pictures of the embossing process while doing it.  So basically, you stamp, sprinkle the powder over the ink while it's still wet (which is part of why I couldn't take pictures, because it has to be done in a timely manner), shake excess into scrap paper, and heat with a heating tool. 
Because of the size of the stamp, I had to stamp three times to cover the whole card.
This piece is 5 by 3 3/4 inches; the same paper I used for the small pink rectangle.  You may notice that it's textured.  With a pencil and ruler, draw a border 1/8 of an inch from the edges, and cut with your knife of choice.
Make sure to only put a thin line of glue when gluing.  You could also use a sticker maker.  I just got a new cartridge! 
With an eyelet punch, punch two holes at the two bottom corners of the small pink rectangle.
Don't worry if the eyelets break apart at the back.  It shouldn't show on the front, and if it does, it won't be much, so it's not a big deal.
I got to keep some of this pretty green ribbon from Christmas.
After some practice, I figured out how to make a perfect little bow.  Unfortunately though, I can't tie it tight enough to stay really well.
...Which is where SUUPER GLUUE (say it as you would "SUUPER MAAN!") comes to the rescue!  Just dab a little in the nicks and crannies  of the bow where it won't be seen.
I chose to put the center piece slightly to the top left so that it would look more balanced with the bow.